
REVIEW · ULUWATU KECAK DANCE SHOWS
Bali: Silver Jewelry Making Class in Kuta or Uluwatu
Silver jewelry feels fancy, until you’re holding the hammer. This Bali class lets you craft your own piece from raw silver with real silversmith guidance in either Kuta or Uluwatu.
I love how practical it is, from picking a design to seeing it take shape step by step. The other thing I really liked is that you’re leaving with a finished souvenir, not just a photo, plus snacks, mineral water, and free Wi-Fi during the workshop. One thing to consider: the silver is priced by weight, and if you go over the included amount, there are extra charges.
In This Review
- Key things you’ll care about most
- Kuta vs Uluwatu: which workshop location fits your Bali day
- What the 3-hour silver process actually looks like
- Step-by-step: design selection and melting your first silver bar
- Hammering and rolling: turning a bar into usable metal
- Shaping and soldering: where precision matters most
- Sanding and polishing: making it look professionally finished
- How the included silver weight and extra fees work
- Who this class suits best (and who might want a different plan)
- Guides and teaching style: what makes the workshop feel easy
- What to wear and how to show up ready
- Is this good value compared to buying jewelry in Bali?
- Should you book this Bali silver jewelry class?
- FAQ
- Where are the workshops located in Bali?
- How long is the silver jewelry making class?
- How much silver is included?
- What happens if I want more than 5 grams of silver?
- Can I bring my own jewelry design?
- What is included in the price?
- Do they offer free cancellation or reserve now, pay later?
Key things you’ll care about most
- Choose your workshop base in Kuta near Kuta Beach or in Uluwatu near Garuda Wisnu Kencana and the Kecak Dance area
- You start from scratch, including melting, hammering, rolling, soldering, sanding, and polishing
- You get 2 to 5 grams of silver included, but anything over 5 grams costs extra per gram
- English, Indonesian, and Malay instruction makes it easier than most maker classes
- Small groups mean you get hands-on help, and guides like Made and Kusuma show up in real participant stories
Kuta vs Uluwatu: which workshop location fits your Bali day
This class runs in two places, and picking the right one can save you time and stress. The Uluwatu workshop is near Garuda Wisnu Kencana Culture Park and the Kecak Dance and Sunset Uluwatu area. It’s also close to Pandawa Beach and Melasti Beach, so it pairs nicely with a South Bali afternoon.
The Kuta workshop sits close to Kuta Beach and Beachwalk Shopping Center. If your trip is mostly about hanging around Kuta and Legian, this is the more convenient match.
One more practical note: the meeting point can vary based on the option you book. So double-check where you’re told to arrive, especially if you’re meeting your class after a beach day.
A few more Uluwatu Kecak Dance shows around Uluwatu:
- Bali: Uluwatu Kecak and Fire Dance Show Entry Ticket
★ 4.2 · 5,189 reviews - Bali: Kecak Fire Dance Show & Uluwatu Temple Entry Ticket
★ 4.2 · 3,023 reviews - Uluwatu: Beginner & Intermediate Surf Lesson with Equipment
★ 4.9 · 832 reviews
What the 3-hour silver process actually looks like
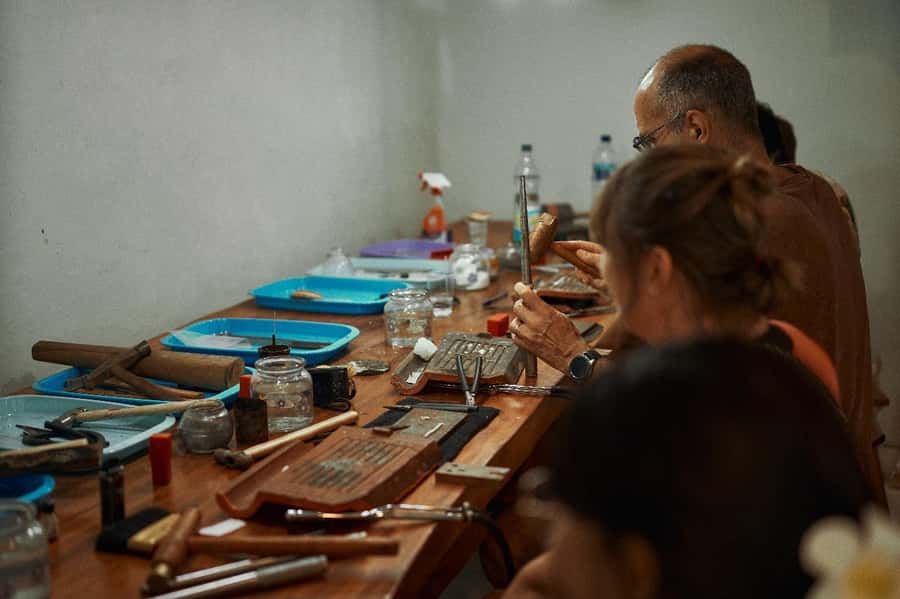
On paper, it’s “a silver jewelry making class.” In real life, it’s closer to a mini workshop in metalwork fundamentals. You’ll move through a 10-step flow that turns your choice into something you can wear. And because it’s structured, you’re not stuck wondering what you should be doing with your hands.
Here’s the experience in plain terms. You’ll:
1) choose (or discuss) a design that can be finished in the time you have
2) learn what silver type you’re using, pure Indonesian silver or 925 sterling silver
3) melt the silver and pour it into a bar mold
4) hammer it to make it stronger
5) roll it into thin sheet or wire
6) shape it into your ring or bracelet components
7) solder pieces together
8) sand down rough edges and smooth connections
9) polish for shine
10) take the finished piece home
In past participant stories, the instructors are patient and direct while walking people through each stage. You’ll also notice a repeat theme: you’re not just watching. You’re doing the work, with guidance when the tool work gets tricky.
Step-by-step: design selection and melting your first silver bar
Your class starts with design. You’ll have reference patterns available, and you can choose from a wide selection. If you already have a design idea, you can bring your own concept too, as long as you talk it through with the silversmiths first so it fits the 3-hour window.
This matters more than it sounds. Silver jewelry is unforgiving if you plan something too complicated. A good instructor will steer you toward something executable. People also mention getting help aligning their ring style to what’s realistically possible with the workshop setup.
Once your design is locked in, you’ll be introduced to the silver options: pure silver or 925 sterling silver. Then comes the dramatic part, melting. You use a special burner to melt the silver until it liquefies, then it gets poured into a mold to form a bar. That bar is your raw material for everything else.
If you’ve never worked with metal before, this moment is the “okay, I’m actually making this” turning point. Past participants describe it as fun and surprisingly satisfying, especially when the instructor makes the process feel manageable.
Hammering and rolling: turning a bar into usable metal
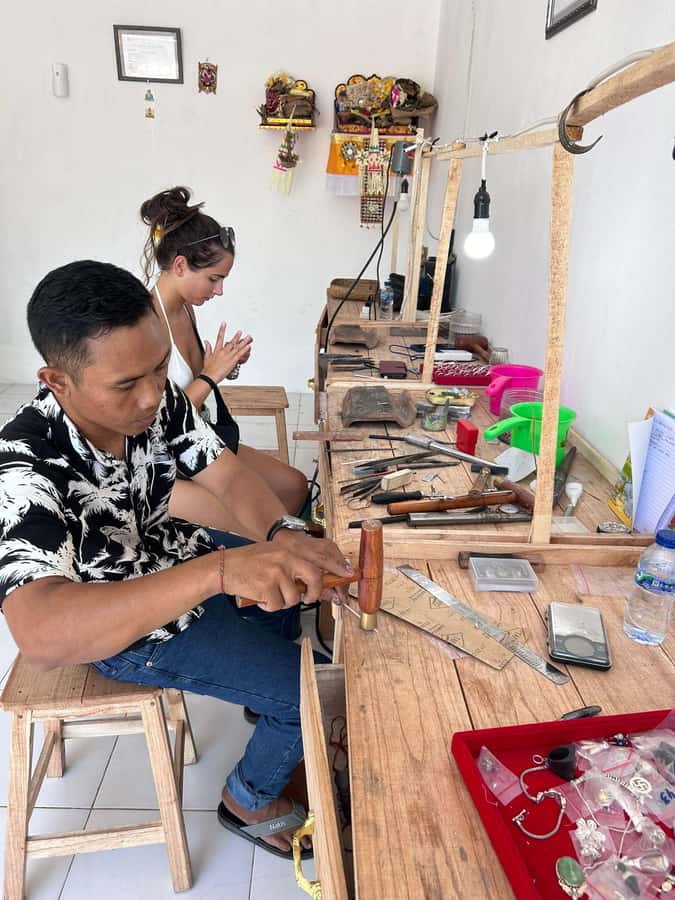
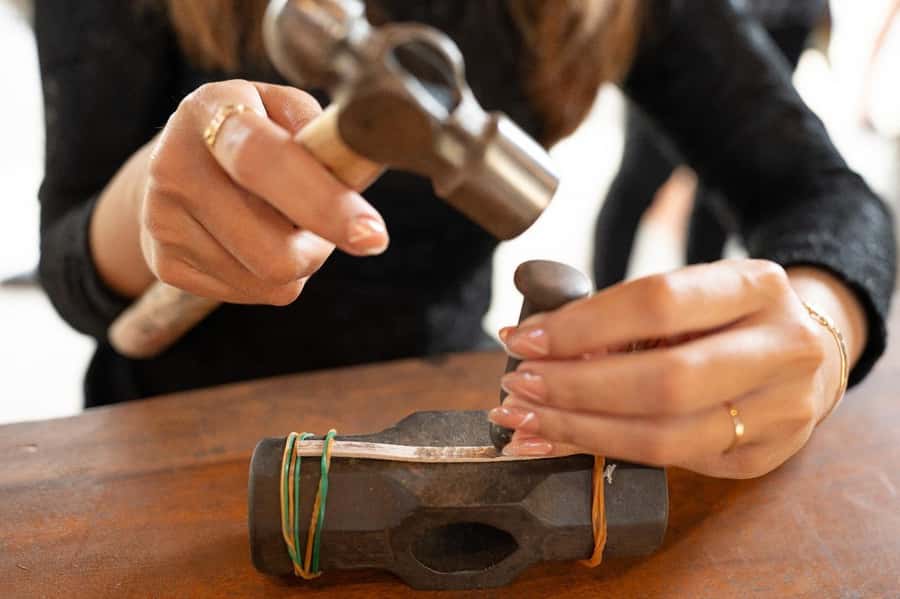
After the silver bar solidifies, you go to hammering. The goal is to harden the metal so it holds up better through the later stages. It also shapes your mindset. Silver work rewards patience, and hammering teaches you control, not speed.
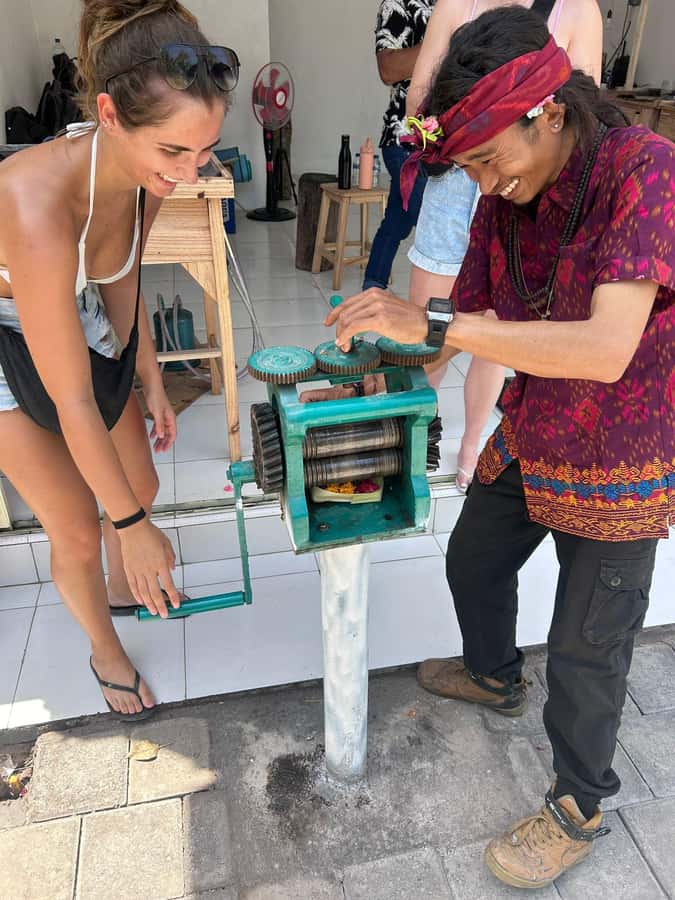
Next is rolling. The silversmith uses rolling tools to create thin sheets or wire, depending on the jewelry style you picked. This step is where you start to see your future piece as something wearable, not just a chunk of metal.
A detail I appreciate here is that you get structured instruction. Even if you’re the type who hates slow steps, hammering and rolling are clear tasks with visible outcomes.
Silver Jewelry Making classes readers book most in Uluwatu:
- Bali: Uluwatu Silver Jewelry Making Workshop with Creation
★ 4.9 · 260 reviews - Hands-On Silver Jewelry Making Near Ubud’s Monkey Forest
★ 4.9 · 1,789 reviews - Ubud: Handcrafted Silver Jewelry Workshop
★ 4.3 · 1,214 reviews - Bali: Canggu Jewelry Making Class with Creative Studio Vibes
★ 4.9 · 1,003 reviews
Shaping and soldering: where precision matters most
Once you have sheet or wire, you shape your jewelry. This is the creative part, but it still needs an artisan’s eye. Your instructor helps you shape the metal into the plan you chose at the start.
Then comes soldering, where separate parts are joined. This is one of the key “skill moments,” because it’s not just joining things. It’s joining them cleanly so you can sand and polish later without fighting messy seams.
From participant feedback, guides are friendly and patient, and they correct mistakes early. That’s important. In metalwork, small errors compound quickly. The best outcome is when you fix things while the piece is still simple.
You might hear people mention extra finishing techniques like oxidation for contrast, but that would depend on your design and the day’s workflow. If you’re curious, ask your instructor about options once you see your piece coming together.
Sanding and polishing: making it look professionally finished
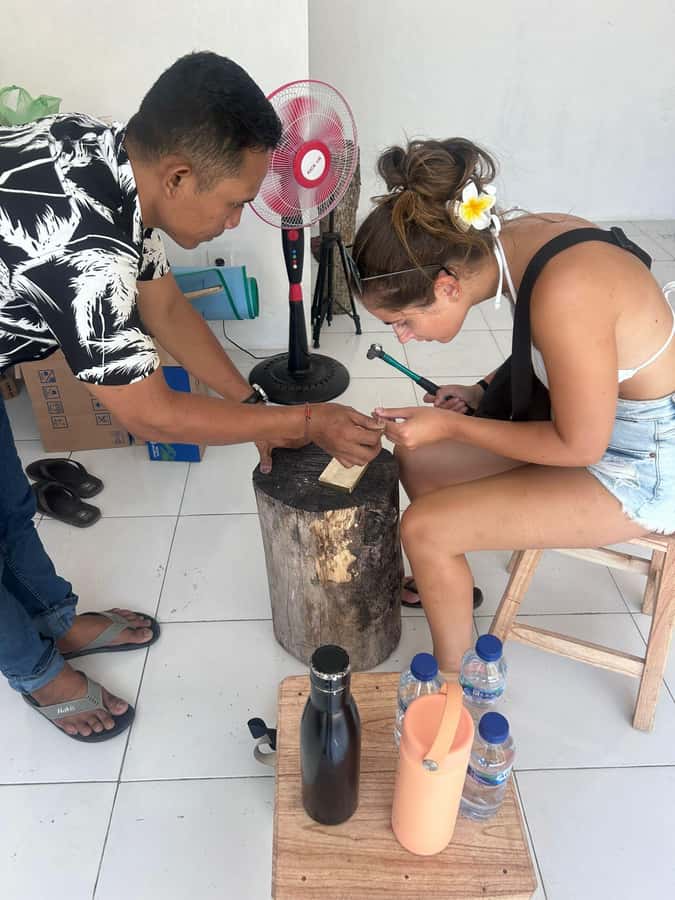
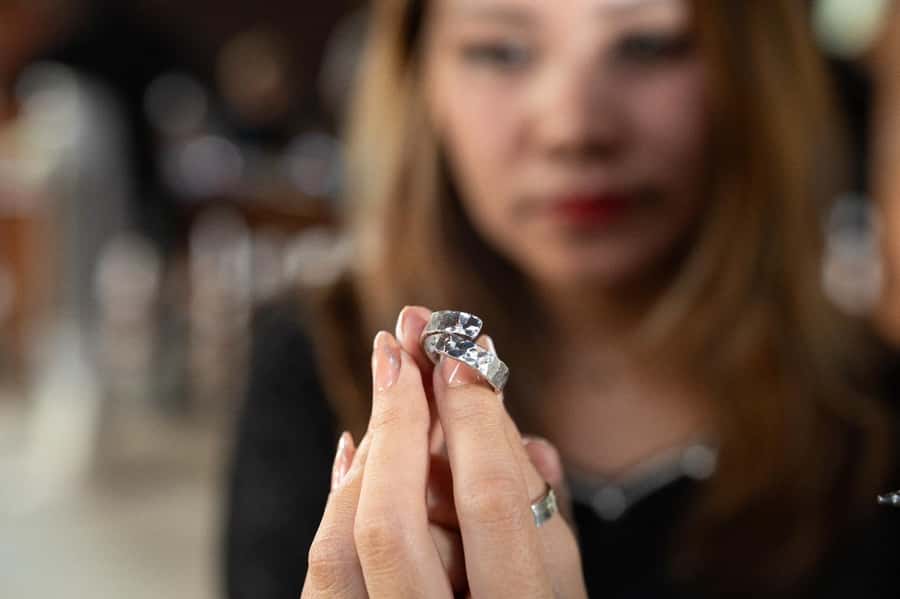
Sanding comes after soldering. Here you smooth rough edges and clean up connections. It’s also where the piece stops looking handmade-in-a-hurry and starts looking like real jewelry.
Finally, polishing. This gives you that refined shine. It’s also when the piece feels like it’s “done,” even though you’ll still want to handle it carefully and check the final look before you leave.
This finishing stretch is one reason the workshop feels like a full experience. You don’t just make a ring. You get to transform raw metal into something that looks gift-worthy.
How the included silver weight and extra fees work
The price is $41 per person for a 3-hour class, and it includes the silver portion and the finished piece. You receive the finest Indonesian silver, typically 2 to 5 grams. You also get tools and materials, plus snacks, mineral water, and free Wi-Fi.
Here’s the part you should plan around: pricing changes if your jewelry ends up weighing more than the included amount. There’s an additional fee of 100,000 IDR per gram for more than 5 grams of silver. The workshop also notes that if your silver jewelry is less than 5 grams, the usage will still be accounted for as 5 grams.
So, in practice:
- if you stay near the plan, you usually avoid surprise costs
- if you overshoot the weight, you’ll want cash on hand for the excess
- you can’t share silver with other participants, so your piece weight is your responsibility
Also note: adding gems or stones costs extra. If your design includes decorative stones, factor that into your budget.
One more rule that affects your wallet: each person makes only one jewelry design. If you want to make more than one design, there’s an extra design fee of 300,000 IDR per design.
If you’re budgeting tight, keep it simple. Pick one style, make it well, and you’ll get maximum value from the included silver and class time.
Who this class suits best (and who might want a different plan)
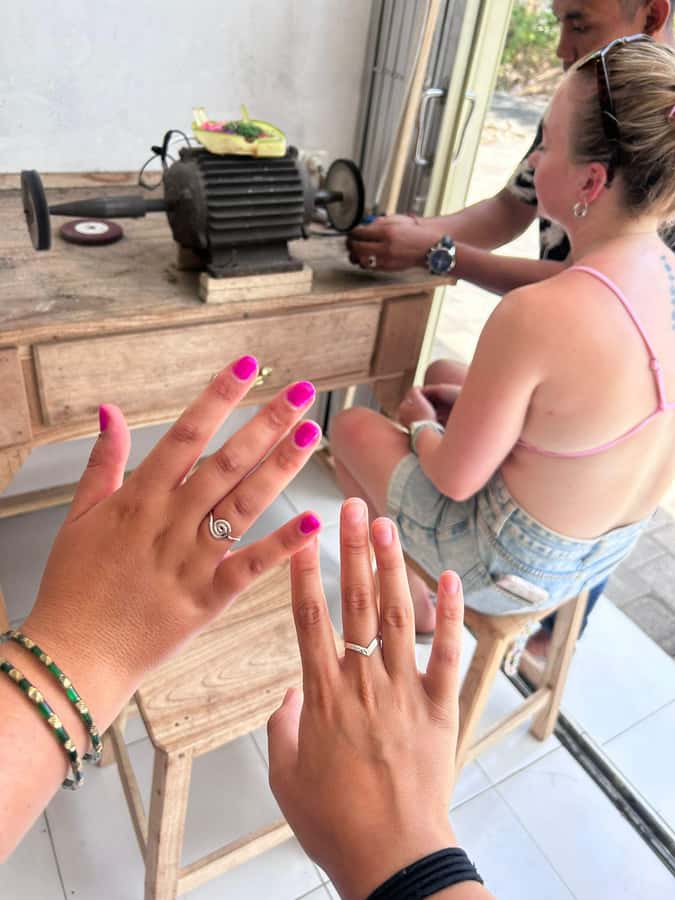
This is a great fit if you want an actual hands-on Bali souvenir. It’s not just a craft show. You’ll melt silver, shape metal, and finish a piece you can wear later.
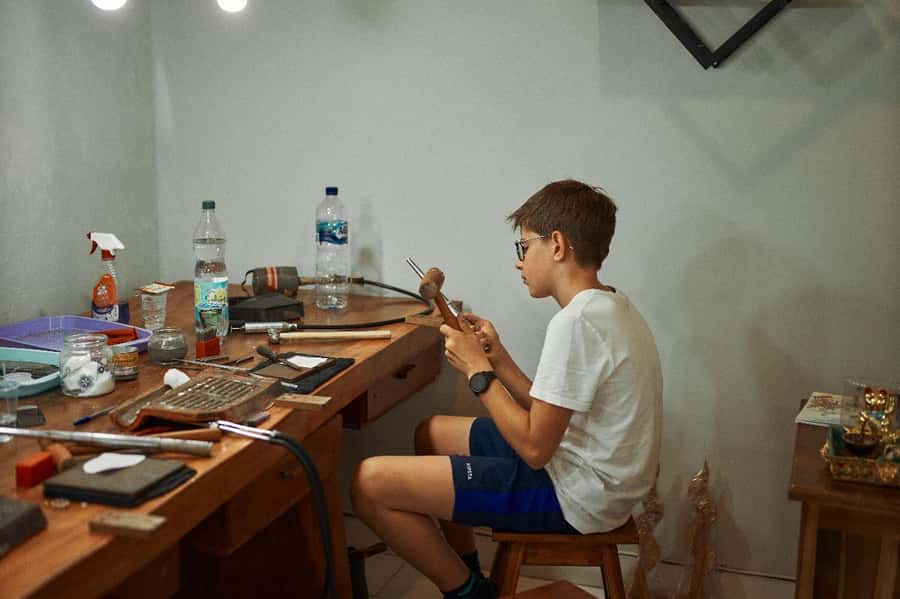
You should also enjoy learning new skills, even if you think you’re bad with tools. The class is suitable for all skill levels, and there’s no prior experience required. Participants frequently highlight the patience of the instructors and the step-by-step guidance.
It’s also a strong pick for couples and friends. In multiple stories, people made matching rings and enjoyed doing the whole process side by side. Even solo travelers get lots of attention when the group is small.
Not suitable for children under 6 years and people over 70 years, so plan accordingly.
Guides and teaching style: what makes the workshop feel easy
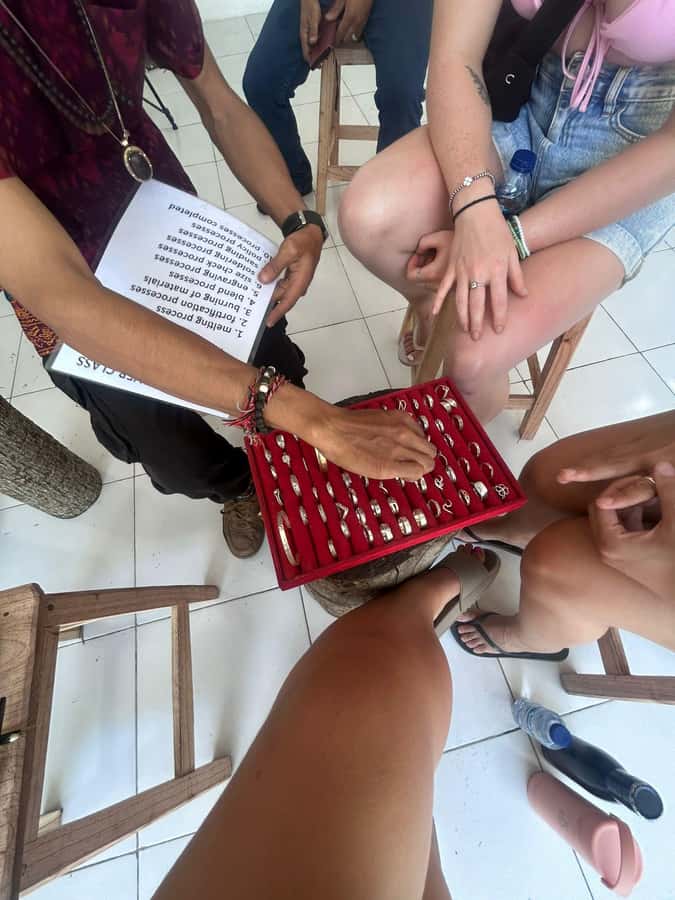
A maker class can go one of two ways: chaotic, or guided. This one is built to be guided.
You get instruction in English, Indonesian, and Malay, which helps a lot if your Bali vocabulary is still in training mode. The silversmiths explain each stage, and you get help while you handle equipment.
In participant experiences, names like Made and Kusuma come up. People praise how they teach step by step, correct mistakes, and keep things friendly. One story even says the instructor helped polish another piece the person already had, which hints at the shop’s attention to finishing touches.
Small group availability also matters. With fewer people, it’s easier to get one-on-one help when you hit a snag with shaping, soldering, or getting the shine right.
What to wear and how to show up ready
Because you’re working with metal, wear clothes that can handle a workshop environment. The class recommends comfortable clothing suitable for crafting activities.
I’d also treat it like a “hands-on afternoon,” meaning:
- wear closed shoes
- bring a little patience, especially for the hammering and sanding stages
- plan your photos for after polishing, when your piece looks its best
Also, prepare cash for any excess silver charges. If you go over the included weight, that’s where you’ll use it.
If you’re planning this on the same day as beach time, do it after you get sandy and sunburnt. Your new ring will thank you.
Is this good value compared to buying jewelry in Bali?
If your only goal is cheap jewelry, you could shop anywhere. But if your goal is a meaningful souvenir, this class competes with buying because it’s personalized and time-based.
You’re paying for:
- the silver portion (2 to 5 grams)
- instruction in a structured process
- all necessary tools and materials
- snacks, water, and Wi-Fi
- and a finished piece to take home
That’s a lot included for one afternoon. The main value trade-off is that the final cost can rise if you want more silver than the plan allows, or if you add stones. But if you stick to the design that fits the time and weight range, you’re basically paying for a skill-building session plus a wearable result.
Should you book this Bali silver jewelry class?
Book it if you want a hands-on Bali memory you can wear, not just carry in a bag. Choose Kuta if you want convenience near the beach and shopping, or Uluwatu if you’re pairing the workshop with South Bali sights and sunset plans.
Skip it if you’re allergic to tools, hate mess, or you want multiple designs for multiple people. The one-design rule is real, and extra designs cost extra. Also, if you’re trying to keep costs ultra-low, pick a simple style so you avoid silver weight surprises.
If you can do one new thing with your hands in Bali, this is one of the better bets. You’ll leave with a ring or bracelet you made, and you’ll actually know what every part of it went through.
FAQ
Where are the workshops located in Bali?
There are two options. The Uluwatu workshop is near Garuda Wisnu Kencana Culture Park and the Kecak Dance and Sunset Uluwatu area, plus near Pandawa Beach and Melasti Beach. The Kuta workshop is near Kuta Beach and Beachwalk Shopping Center.
How long is the silver jewelry making class?
The duration is 3 hours. Starting times vary based on availability.
How much silver is included?
You receive Indonesian silver in the range of 2 to 5 grams, and your included usage may be counted as 5 grams even if your finished jewelry ends up under 5 grams.
What happens if I want more than 5 grams of silver?
If your finished jewelry uses more than 5 grams of silver, there is an additional fee of 100,000 IDR per gram. You should have cash ready for any excess charges.
Can I bring my own jewelry design?
Yes. You can bring your own design idea, but you need to discuss it with the silversmiths first to make sure it can be completed within the workshop time.
What is included in the price?
The class includes instruction from silversmiths, all necessary materials and tools, Indonesian silver, a finished piece to take home, and snacks plus mineral water. Free Wi-Fi is also included.
Do they offer free cancellation or reserve now, pay later?
Yes. The activity offers free cancellation up to 24 hours in advance for a full refund, and it also has a reserve now and pay later option where you can book without paying immediately.
Just added around Uluwatu
- Surf Lessons in Uluwatu for All Levels★ 4.9 · 15 reviews
- Bali: Customizable Beach Day Tour with Hotel Pickup★ 4.8 · 21 reviews
- Rock Mud Fun ATV Quadbike Uluwatu★ 4.8 · 10 reviews
- Best Surf Lesson around Uluwatu★ 5.0 · 64 reviews
- Bali: Uluwatu Beaches Tour with Padang Padang and Suluban★ 4.4 · 19 reviews
- Bali: Sunset Uluwatu Temple & Kecak Fire Dance Private Tour★ 3.7 · 72 reviews
- Bali: South Bali Private Tour with Driver★ 4.6 · 6 reviews
- Bali: Parasailing, Jet Ski & Uluwatu Tour with Kecak Dance★ 4.5 · 37 reviews
Uluwatu Kecak Dance Shows, compared.
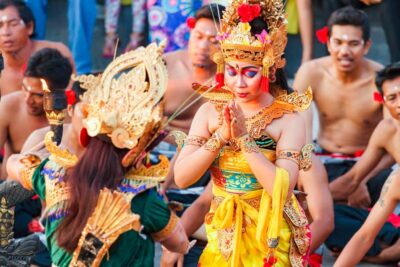
Uluwatu Kecak and Fire Dance Show Entry Ticket
Read our review →
Uluwatu Sunset, Kecak Dance, and Dinner Jimbaran Beach
Read our review →
Kecak Fire Dance Show & Uluwatu Temple Entry Ticket
Read our review →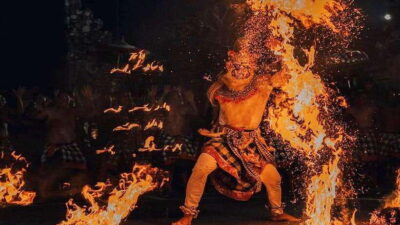

Bali Sunset: Uluwatu Temple, Kecak Dance and Jimbaran Bay
Read our review →
Canggu & Uluwatu Puppy Yoga Class & Refreshing Drinks
Read our review →
South Coast Uluwatu, Tanah Lot, and Jimbaran Day Trip
Read our review →
Uluwatu: Beginner & Intermediate Surf Lesson with Equipment
Read our review →Browse the lists this tour appears in