
REVIEW · SILVER JEWELRY MAKING CLASSES
Bali Canggu Silver Jewelry Making Experience
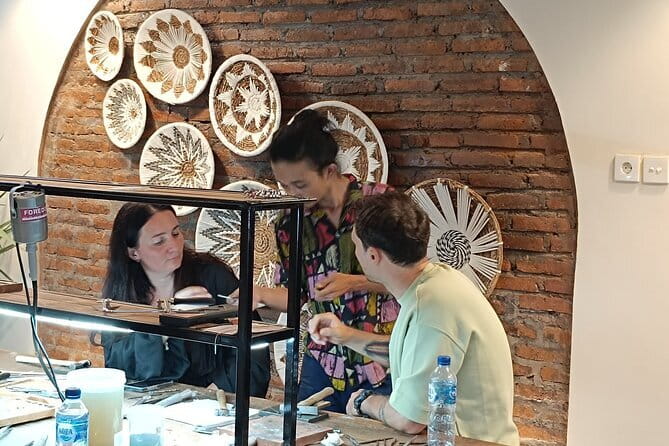
Silver jewelry making in Canggu is more fun than you’d expect. I like how this workshop keeps the group to just 15 people, so you get real attention from the silversmith. I also like that you learn the full craft process, from shaping to polishing, instead of just watching and stamping a token. One consideration: the studio is not wheelchair accessible, and stairs make the physical activity challenging.
After a quick check-in at Big Tree Jewelry Classes, you relax in a waiting room with a welcome drink, then get set up to design and create your own piece using 1 to 6 grams of silver. You’ll use jeweler tools like grinding wheels, jeweler’s saws, files, and you can practice techniques such as stamping and hammering, then leave with your handmade souvenir. If you want a warmer look, there’s an optional upgrade for gold plating at an additional charge.
In This Review
- Key things to love about the Bali Canggu silver workshop
- First impressions at Big Tree Jewelry Classes in Canggu
- What the 2 hour session feels like, from check in to finished piece
- 1) Arrival, check in, and welcome drink
- 2) Workshop briefing and silversmith instruction
- 3) Designing with 1 to 6 grams of silver
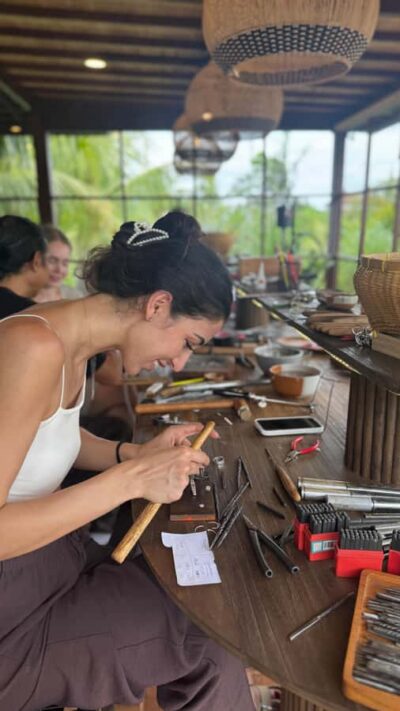
- 4) Using tools: grinding wheels, saws, and files
- 5) Polishing and finishing
- 6) Take your jewelry home
- The craft lessons you actually get, not just the souvenirs
- Cutting and shaping
- Stamping and hammering
- Polishing and refining
- Optional gold plating, when it makes sense
- Pricing and value in practical terms
- Who should book this Bali Canggu jewelry making class
- Helpful tips to get the best result
- Should you book the Big Tree silver jewelry workshop in Canggu?
- FAQ
- How long is the Bali Canggu silver jewelry making experience?
- Where does the workshop take place?
- What’s included in the ticket price?
- Do I get to use jewelry tools myself?
- Is gold plating included or an extra cost?
- Can I cancel for free?
Key things to love about the Bali Canggu silver workshop
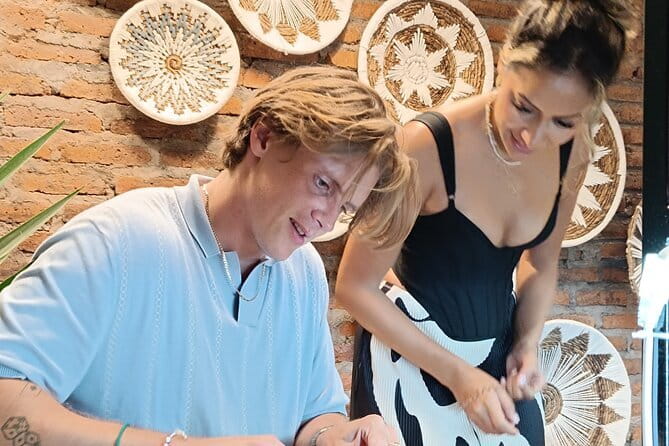
- Small group size, capped at 15 for more hands on guidance
- Use 1 to 6 grams of silver to create one jewelry design
- Learn multiple techniques, including stamping, hammering, and polishing
- Studio tools are part of the experience, not just demonstrations
- Optional gold plating upgrade if you want extra shine
- Complimentary water and free Wi-Fi so you can plan your next stop
First impressions at Big Tree Jewelry Classes in Canggu
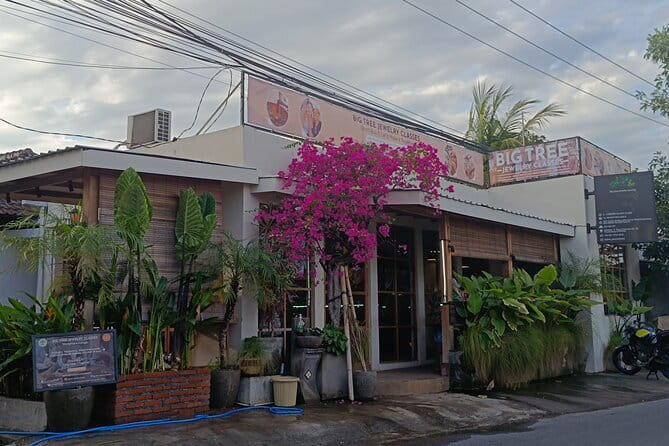
The experience starts at Big Tree Jewelry Classes in Canggu, in the Tibubeneng area near Jalan Raya Padonan (Jl. Raya Padonan no. 57, Tibubeneng, Canggu, Kuta Utara, Badung, Bali). It’s a studio setting, not a walk in and out kind of tour, so you’ll want to arrive a few minutes early to keep things relaxed.
Check in is straightforward, and you’ll then hang out in a waiting room where they offer a welcome drink. That little reset matters in Bali. Canggu can feel chaotic if you’re hopping between cafes and beach clubs, so having a calmer start helps you shift into workshop mode.
Two practical notes from what’s included and what’s not:
- Bottled water is included, and it’s a real bonus in Bali humidity.
- Meals are not included, so if you’re hungry, plan to eat before you go. Your jewelry time is only about two hours, so you do not want to waste it waiting for food.
If you’re relying on public transportation, this stop is described as near public transportation, which is helpful if you do not want to line up a driver for something that is already short.
Silver Jewelry Making classes readers book most in Seminyak:
- Silver Jewelry Making Class and Ubud Tour with All Inclusive
★ 5.0 · 28 reviews - Bali: Silver Jewelry Making Class in Seminyak
★ 5.0 · 15 reviews - Bali Traditional Silver Class – Making Simple Jewelry Experience
★ 5.0 · 12 reviews
What the 2 hour session feels like, from check in to finished piece
The workshop runs for about two hours. That’s a sweet spot. Long enough to learn the motions and finish something you can actually take home, short enough that it won’t swallow your whole day.
Here’s how the flow typically feels, step by step:
1) Arrival, check in, and welcome drink
You check in, then settle in the waiting room. This is where you can get your bearings, refresh, and take a breath before tools come out. Free Wi-Fi is included, so if you want to update your plans or send a message, you can.
If you’re traveling with a partner, this waiting time is also when you can spot what kind of design vibe you want. Even if you do not sketch a full blueprint, looking at your options before the silversmith starts guiding you can help you move faster once you sit down.
2) Workshop briefing and silversmith instruction
After the waiting room step, you start the workshop and listen to guidance from the local silversmith instructor. The key word here is hands on. The class is built around you doing the work, not just observing.
You learn how to create a piece of jewelry and how each stage connects to the next. That matters because silver work is more than making something shiny. It’s measurement, cutting, shaping, refining, then polishing. The better you understand the sequence, the easier it is to avoid frustration.
A few more Seminyak trips to compare
- Bali Full-Day Traditional Village Sightseeing Trip All Inclusive
★ 5.0 · 3,069 reviews - Experts Bali Driver : Best Bali Private Driver for Tour in Bali
★ 5.0 · 1,339 reviews - Bali Hai Sunset Dinner Cruise
★ 5.0 · 1,173 reviews - Mount Batur Sunrise Trekking
★ 5.0 · 947 reviews
3) Designing with 1 to 6 grams of silver
One of the most valuable parts of the class is that you work within a defined silver amount: 1 to 6 grams for one jewelry design. That constraint pushes you to think like a maker, not like a buyer. You plan the size and shape based on what you actually have.
It also helps with expectations. In a short workshop, you cannot reinvent an entire jewelry collection. What you can do is create a clear, finished souvenir that feels intentional.
4) Using tools: grinding wheels, saws, and files
You get to use tools such as grinding wheels, jeweler’s saws, and files. There’s a big difference between a craft you watch and a craft where your own hands are doing the cutting, filing, and fitting.
Even if you’ve never held these tools before, the instructor guides you through the process. You also learn how to perfect techniques like stamping and hammering, which is where the work starts to look like jewelry rather than a metal project.
5) Polishing and finishing
By the end, you polish your creation. Finishing is where your piece jumps from rough and handmade to something that looks finished and wearable.
This is also why the class duration works. Two hours may sound short, but it’s enough to go through the steps that turn raw silver into a keepsake. If polishing gets rushed, the piece looks dull. If it gets careful, the shine gives you that wow moment when you finally hold it.
6) Take your jewelry home
The experience ends back at the meeting point, and you leave with your creation. You should expect it to be a real souvenir you can wear, not only a decorative display item.
The craft lessons you actually get, not just the souvenirs
This workshop is valuable because it teaches the logic behind jewelry making. You are not only copying a finished sample, you are learning what each technique does.
Here are the skills you can expect to practice during your session:
Cutting and shaping
Using tools like jeweler’s saws and files, you learn how metal responds to different actions. In practical terms, this is the stage where your design becomes recognizable.
Stamping and hammering
The class includes stamping and hammering techniques. These add texture and character, and they are the easiest way for a beginner to make the piece feel personal. If you want your design to look less generic, this part is where you can influence the final look.
Polishing and refining
Polishing is the final step, and it’s what determines whether the piece looks crisp or cloudy. You learn how to finish so it feels like something you’d want to wear, especially if you’re hoping for an everyday ring or small pendant look.
Optional gold plating, when it makes sense
There’s an upgrade available to add optional gold plating to your silver jewelry for an additional charge. Since the base experience already includes your silver (1 to 6 grams) and the core craft process, gold plating is best thought of as a style choice, not a necessity.
If you’re going for a warmer, more “jewelry store” look, plating can help. If you prefer the clean silver tone, you may decide to skip the extra cost and stick with the pure silver finish.
Either way, you are still taking home a handmade piece created during your session, and you can carry it as a Bali memory that actually fits your life when you get home.
Pricing and value in practical terms
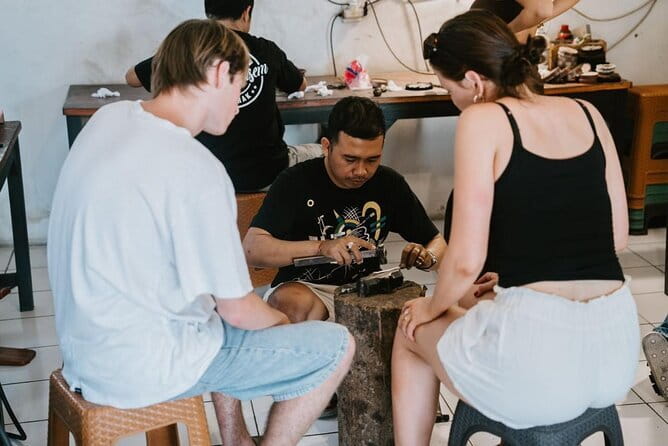
The price is $46.43 per person, and it’s typically booked about 13 days in advance on average. On paper, that’s a very reachable workshop price for a hands on craft.
The value gets better when you consider what’s included:
- A silversmith instructor
- 1 to 6 grams of silver for your jewelry design
- Bottled water
- Free Wi-Fi
- The tools and guidance needed to create and finish your piece
- Optional gold plating is available for an extra charge, if you want it
What’s not included is also important:
- Private transportation is not included
- Meals are not included
So the real cost equation for you is not just the ticket price. It’s also food timing and how you plan to get there. If you’re already in Canggu or Seminyak, you’re in good shape. If you’re further out, add a realistic transport budget.
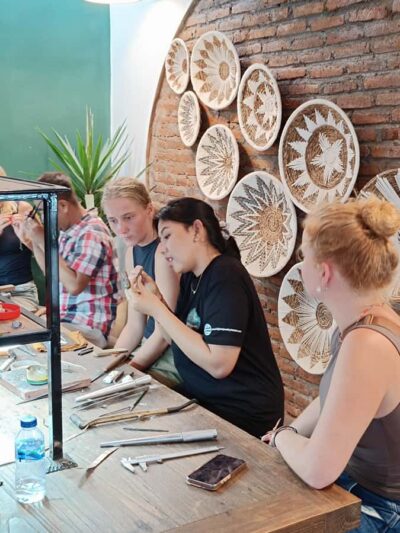
Also, remember this is capped at 15 people. A small group matters because it affects how much attention the instructor can give you. When you’re learning metalwork, help is not a “nice to have.” It can prevent wasted time and keep your design from going off track.
Who should book this Bali Canggu jewelry making class
This workshop is a great fit if you want a creative souvenir that feels real.
You’ll likely enjoy it if:
- You want something wearable from Bali, like a ring you can actually show off back home
- You enjoy learning by doing, not just watching
- You want a short activity that still feels meaningful
- You prefer small group classes where staff can be patient and attentive
You might want to rethink it if:
- You have mobility limitations that make stairs a problem, since the place is not wheelchair accessible
- You’re expecting a sightseeing tour with lots of viewpoints. This is a studio craft session, so your time is fully focused on making
If you’re traveling as a couple, it can be a fun shared memory, because you both get the same hands on workflow and you leave with a piece you designed.
Helpful tips to get the best result
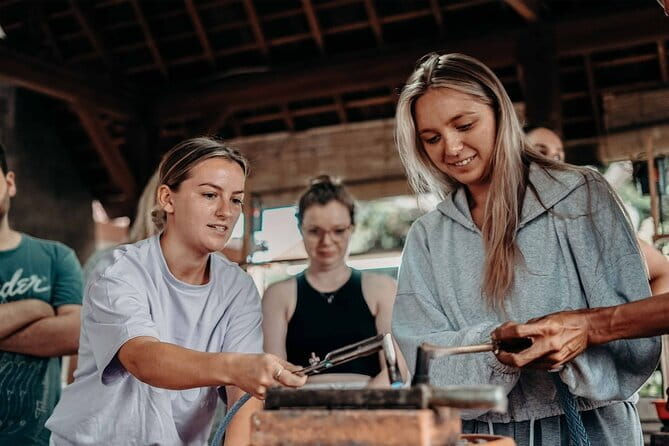
Because you’re working with silver and tools, the biggest way to improve your experience is to show up ready to focus.
Here are practical tips you can use right away:
- Eat beforehand since meals are not included, and you do not want hunger to mess with your concentration.
- Wear clothes that you don’t mind getting a little messy. Metalwork can mean fine dust or tiny bits of material.
- If you want a specific look, think about it before you sit down. The silver amount is limited, so your design should match what you plan to create.
- Ask questions early. The instructor guidance is part of the value of this class, and early clarity helps later steps like finishing.
Should you book the Big Tree silver jewelry workshop in Canggu?
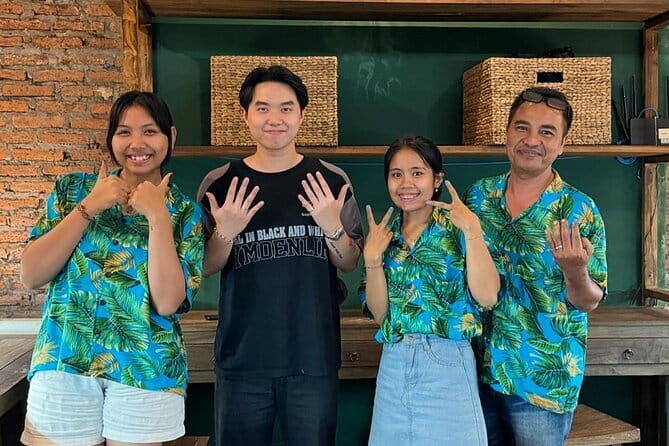
If you want a Bali activity that is hands on, small group, and ends with a keepsake you can wear, I think this is a strong yes. The class structure makes sense for beginners: you get instruction, you touch the tools, you practice techniques like stamping and hammering, and you finish with polishing. The result is not just a photo prop.
Book it if you’re in Canggu and you want a creative break that feels authentic to the region’s craft scene, not another generic tourist stop. Skip or reconsider if stairs and mobility are a concern for you, since the studio is not wheelchair accessible and the physical activity can be challenging.
FAQ
How long is the Bali Canggu silver jewelry making experience?
It lasts about 2 hours.
Where does the workshop take place?
The meeting point is at Big Tree Jewelry Classes in Canggu, located at Jl. Raya Padonan no. 57, Tibubeneng, Canggu, Kuta Utara, Badung, Bali 80361, Indonesia.
What’s included in the ticket price?
You get bottled water, a silversmith instructor, 1 to 6 grams of silver for 1 jewelry design, free Wi-Fi, and optional gold plating is available as an extra charge.
Do I get to use jewelry tools myself?
Yes. The workshop includes using tools such as grinding wheels, jeweler’s saws, files, and it also covers techniques like stamping and hammering.
Is gold plating included or an extra cost?
Gold plating is optional and available for an additional charge.
Can I cancel for free?
Yes, you can cancel for a full refund if you cancel up to 24 hours in advance of the experience start time. If you cancel less than 24 hours before, there is no refund.
Just added around Seminyak
- Kuta Seminyak Scooter Lessons★ 5.0 · 40 reviews
- Ubud Private Tour★ 5.0 · 36 reviews
- English and Japanese Speaking Local Bali Driver★ 5.0 · 22 reviews
- Private Full-Day Tour in Bali & FREE WIFI★ 5.0 · 82 reviews
- Best of North Bali: Banyumala Waterfall, Handara Gate and Temple★ 5.0 · 4 reviews
- Wonderful Bali In 3 Days Private Tour★ 5.0 · 56 reviews
- Zero Gravity Flotation Therapy in Canggu Bali by Solace Float★ 5.0 · 36 reviews
- West Nusa Penida Full-Day Private Tour★ 5.0 · 93 reviews
Silver Jewelry Making Classes, compared.
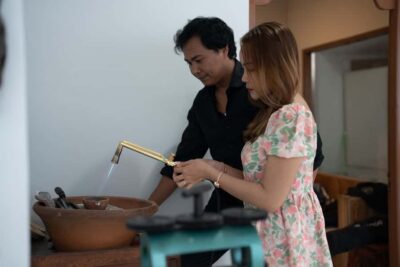
Hands-On Silver Jewelry Making Near Ubud’s Monkey Forest
Read our review →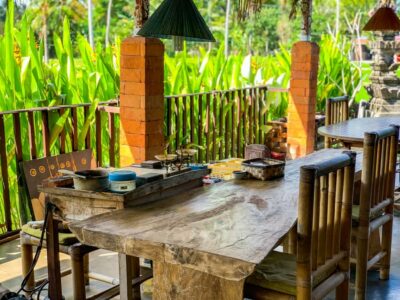
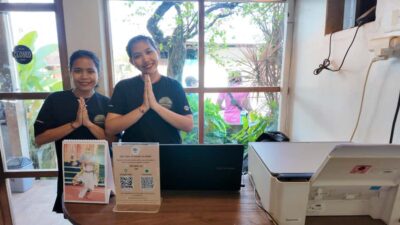
Canggu Jewelry Making Class with Creative Studio Vibes
Read our review →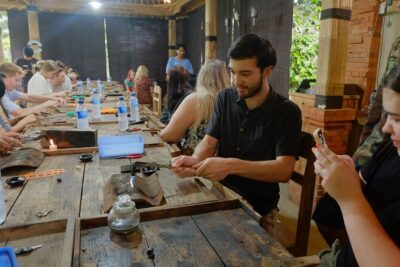
Seminyak Jewelry Making Class with Gold Plating Option
Read our review →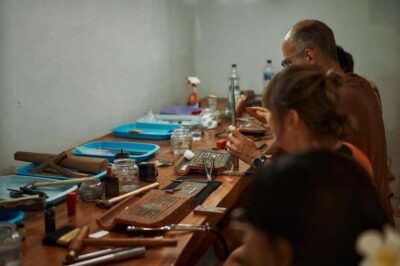
Uluwatu Silver Jewelry Making Workshop with Creation
Read our review →
Sidemen Jewelry Silver Class with 7 Gram of Silver
Read our review →Browse the lists this tour appears in