
REVIEW · RINJANI TREKKING
From Senaru: Mount Rinjani 2-Day Trek to Summit
Mount Rinjani in two days is not a casual hike, it is a straight shot at sunrise from the top. I love how the trip is built around clear checkpoints, so you always know what comes next, and you still get time to rest properly along the way. Two things I also really like: the camp setup is handled for you (including head lamps and camp gear), and the long day on arrival gets you into rhythm fast rather than dragging the start.
I also appreciate the focus on practical comfort, like extra trekking support with trekking poles and even camp seating, so your energy goes toward moving uphill. One possible drawback to plan for: it gets very cold near the summit, and you will need proper gloves, warm layers, and good footwear, or the last push will feel twice as hard.
In This Review
- Key things to know before you go
- Mount Rinjani in 48 hours, what that really means
- The permit bottleneck, and how not to lose your trek day
- Registering via ERinjani app
- Using a local guide to handle registration
- Getting to Sembalun from Senaru, and why the schedule matters
- Day 1 route, posts, and what each stop feels like
- RIC and Post 1 (1,300 m): first stretch and setup
- Post 2 (Tengengean, 1,500 m): climb with breathing room
- Post 3 (Pada Balong, 1,800 m): the longer rest that saves you
- Sembalun Crater Rim (Pelawangan Sembalun, 2,639 m): the long steep finale
- Camp setup details, and why they matter at 2,600 m
- Day 2 at 02:30, the sunrise climb and the summit reality
- What you see on top
- Coming back down, breakfast at the rim, and finishing at noon
- The guide and porter difference you should care about
- Value and price, is about $183 actually fair?
- What to bring, based on the cold and steep reality
- Who this trek suits best, and who should skip it
- Transportation and the one real comfort question
- Should you book Mount Rinjani from Senaru, two days to the summit?
- FAQ
- Do I need to register for the Rinjani permits early?
- How do I register in the ERinjani app?
- Where does the trek start and when do you arrive at Sembalun?
- What are the key time points on Day 2 for the summit?
- What is provided for camping and nighttime comfort?
- Is the national park entrance fee included in the price?
- What should I pack in my small backpack?
- What fitness level do I need?
- How big is the group?
Key things to know before you go
- Permits are limited to 240 per day, so planning and registering early matters more than you think.
- The summit start is early, with a wake-up around 02:30 and a 03:00 departure for the top.
- Your comfort at camp is handled, with tents, sleeping bags, mattresses, toilet tent, and head lamps.
- The toughest section is the last hour up, with loose stones and steep scrambling.
- You sleep by the crater rim at Pelawangan Sembalun, which makes the views at sunset and sunrise a big part of the experience.
- Group size stays small (up to 10), which helps on narrow sections and keeps the pace manageable.
Mount Rinjani in 48 hours, what that really means
This is a fast-format summit trek: you start from Sembalun, climb up through multiple posts, camp near the crater rim, then wake up in the dark to go for the top. If you’re imagining a relaxed adventure, adjust that expectation. You’ll spend Day 1 building altitude and Day 2 paying for it with a steep, loose-stone final hour.
The good news is that this tour is structured for endurance, not chaos. Checkpoints at known altitudes keep things organized, and the included porters mean you do not carry the bulk of the camp kit.
The other big reality check is cold. One of the most repeated practical notes from past hikers is that the final climb can be brutally chilly due to wind, so bring real cold-weather protection, not summer hiking guesses.
More Hiking Trips in Lombok
- 2D1N Senaru Crater Rim Trekking
★ 5.0 · 178 reviews - Mount Rinjani Trek 3D-2N To Summit – Lake – Hotspring
★ 4.7 · 111 reviews - Mount Rinjani 2-Day Trek to Senaru Crater Rim
★ 4.8 · 89 reviews
The permit bottleneck, and how not to lose your trek day
On Mount Rinjani, the entry process is a genuine constraint, not paperwork trivia. Permits for the national park are available in limited daily numbers: 240 per day. If the day you want runs out, you can’t simply “wait around and go later”, you may need to reschedule.
What that means for you: handle the permit side early, before you even lock your flight timing. If you are coming from Lombok already, you can still move fast, but you should not wait until the last minute.
Registering via ERinjani app
The process described for registration is done through the ERinjani APP. You enter member details like passport number, full name, birthday, weight and height, and nationality. After filling your profile, you pay directly to a government account through Indonesian banking channels, at RP 250K per person per day.
Using a local guide to handle registration
You can also contact a local guide to help with registration since the ticket inventory is limited. I like this option if you prefer not to manage the app steps yourself, or if you want someone to double-check your details before payment.
Other Rinjani trekking worth a look in Lombok:
- Mount Rinjani 2 Days 1 Night Senaru Crater Rim
★ 5.0 · 131 reviews - Mount Rinjani Hiking to summit( 2 Days 1 Night )
★ 5.0 · 50 reviews - mount rinjani One day trek
★ 4.6 · 39 reviews - Mount Rinjani: 2D/1N Trekking To Sembalun Or Senaru Views
★ 4.8 · 24 reviews
Getting to Sembalun from Senaru, and why the schedule matters
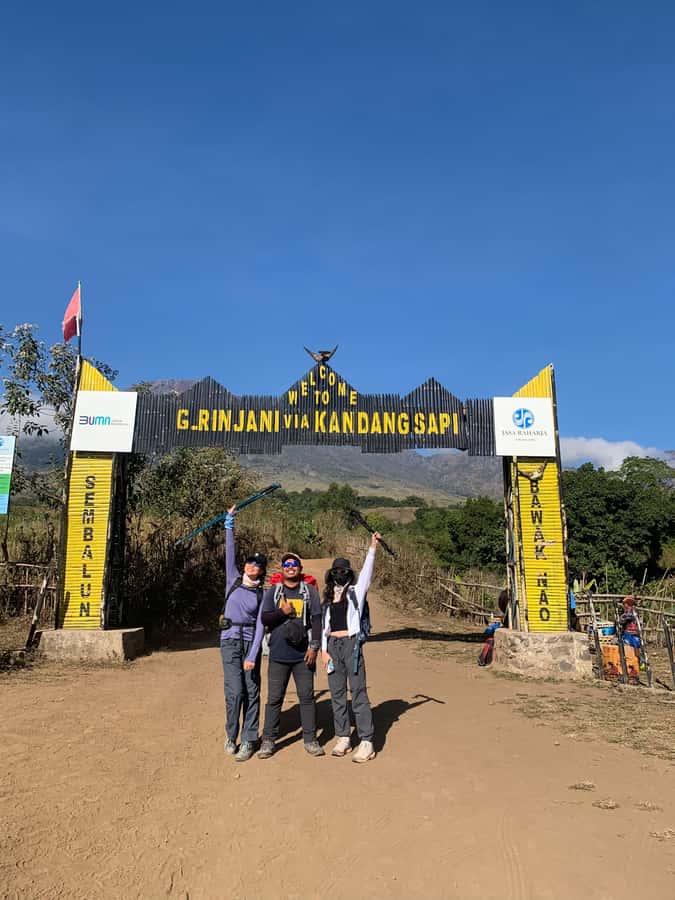
Your day begins with a transfer from Senaru to Sembalun village, usually about 45 minutes to 1 hour. You arrive around 8:00 am, which gives you enough morning time for the first registration and the first climbing segment.
This matters because Day 1 is not just a warmup. The plan includes a 2-hour registration and initial process at the Rinjani Information Center (RIC) at 1,051 m, then you move upward through Post 1 and beyond. If you show up already tired, the trek stacks fatigue quickly.
Also, you’ll want your hands free early. The tour asks you not to bring a big day pack, and instead keep essentials in a small bag, because your main hike time is about steady movement.
Day 1 route, posts, and what each stop feels like
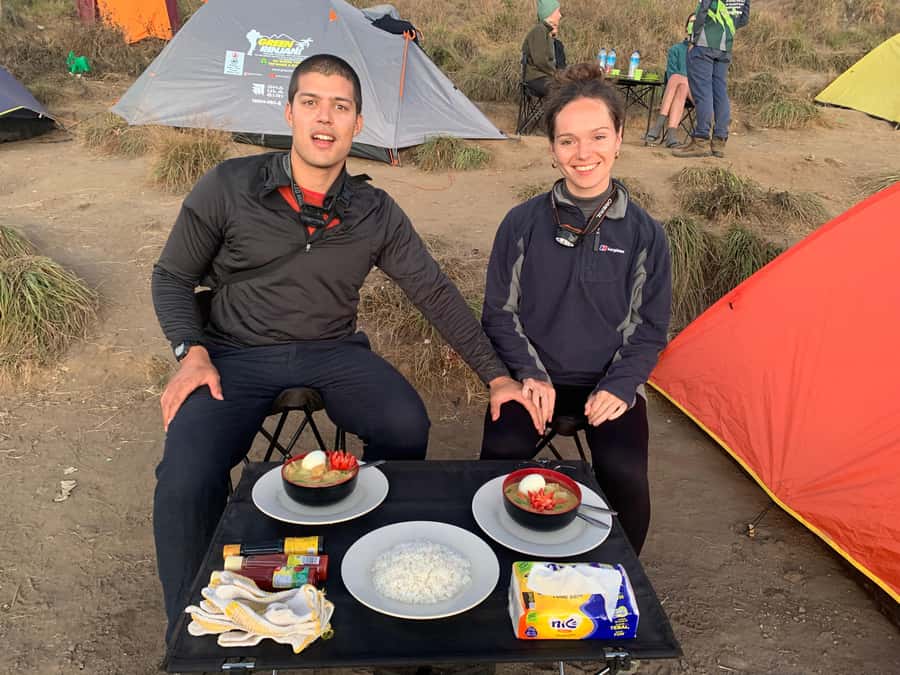
Day 1 is all about altitude progression, plus a long final push to the crater rim.
RIC and Post 1 (1,300 m): first stretch and setup
After breakfast, you head straight to the RIC, then Post 1 at 1,300 m. The initial segment takes about 2 hours, and you should treat it like your real start, not a quick administrative pause.
You then get a short break for 5 to 10 minutes at Post 1. This is a good time to reset your layers, check your poles and head lamp access, and drink water before moving again.
Post 2 (Tengengean, 1,500 m): climb with breathing room
From Post 1 to Post 2 is about 1 hour. Another short 5 to 10 minute stop happens there, which keeps the pace controlled.
At this stage, the climb often feels steady but not gentle. I like that the tour gives quick breaks rather than turning the day into long waits. You keep your rhythm.
Post 3 (Pada Balong, 1,800 m): the longer rest that saves you
Post 3 takes about 1 hour after Post 2. Then you get the big reset: about a 2-hour rest at Pada Balong.
Here, the guide and porters handle lunch prep, and you get a hot drink option like tea, coffee, hot chocolate, or lemon tea. For most hikers, this is the moment that decides how good Day 1 feels. If you eat well and hydrate here, Day 1’s steep crater rim segment becomes much more manageable.
Sembalun Crater Rim (Pelawangan Sembalun, 2,639 m): the long steep finale
After lunch and rest, you climb to Pelawangan Sembalun at 2,639 m for around 3 hours, including a longer steep section. This is your last major altitude gain of Day 1, and it is where good pacing matters most.
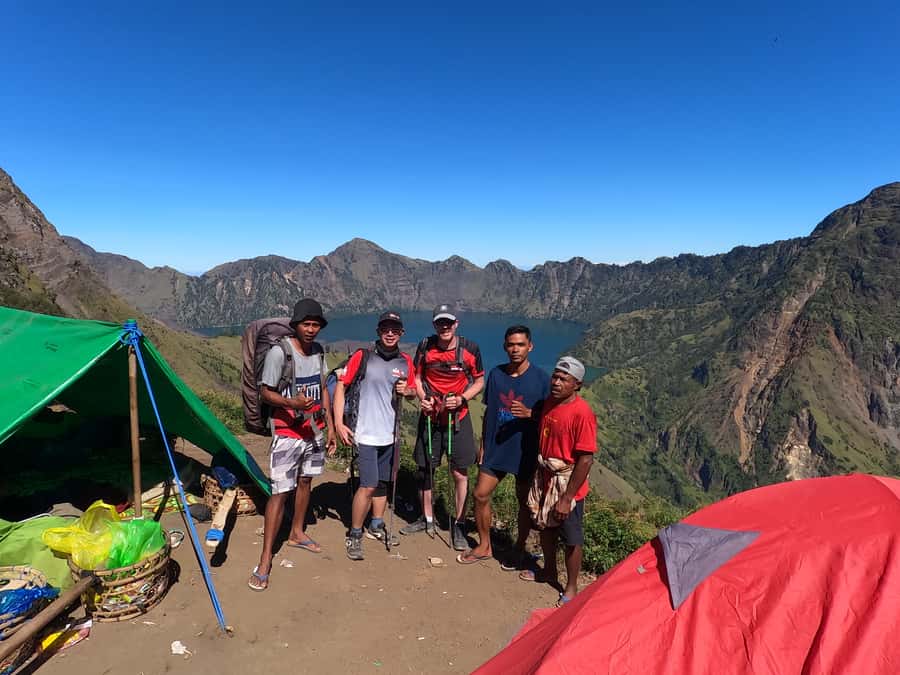
Once you reach the rim, you camp near the crater edge, and the views become the reward system. The plan specifically calls out chances to enjoy sunset and sunrise, plus views toward Segara Anak lake, Sembalun village, and the mountain’s overall profile.
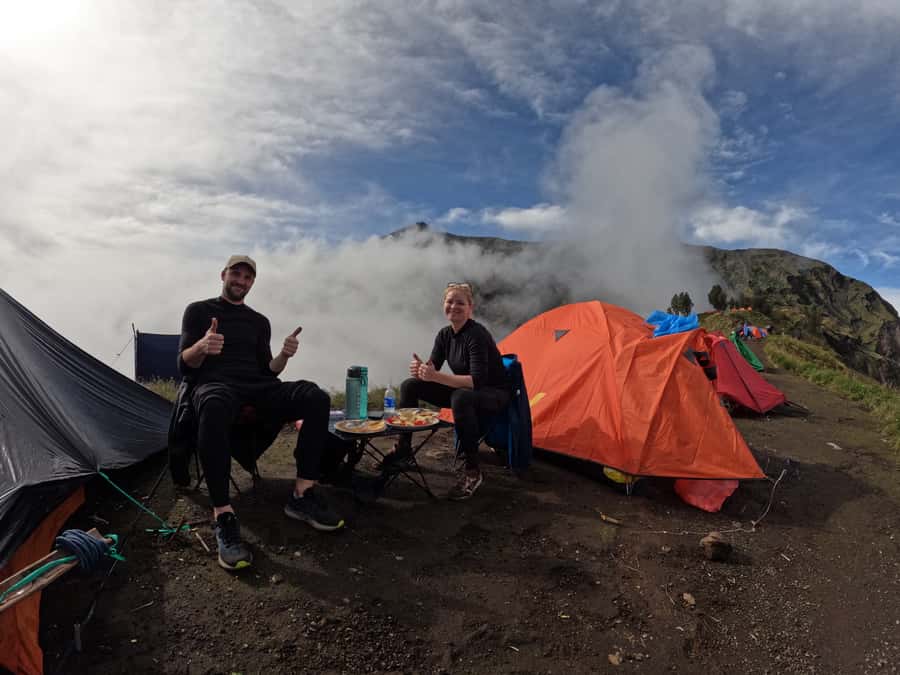
The highlight is sleeping under the stars at this crater rim campsite. And yes, the provided setup helps a lot, because you can focus on warmth and rest instead of hauling camp gear.
Camp setup details, and why they matter at 2,600 m
This trek avoids the “rough it” problem by including a serious portion of what normally ruins summit nights. You get double-size tents, camp chairs, a toilet tent, sleeping bags, pillows, mattress, and even a head lamp for moving safely in the dark.
You also get trekking poles and trekking sticks, plus meals across the two days and safe drinking water. Rain protection is included too in the form of a rain coat.
This is one of the most praised parts of the experience because it changes how you spend your energy. The best hikes still require effort, but your body should not also fight for warmth or try to improvise comfort at altitude.
Day 2 at 02:30, the sunrise climb and the summit reality
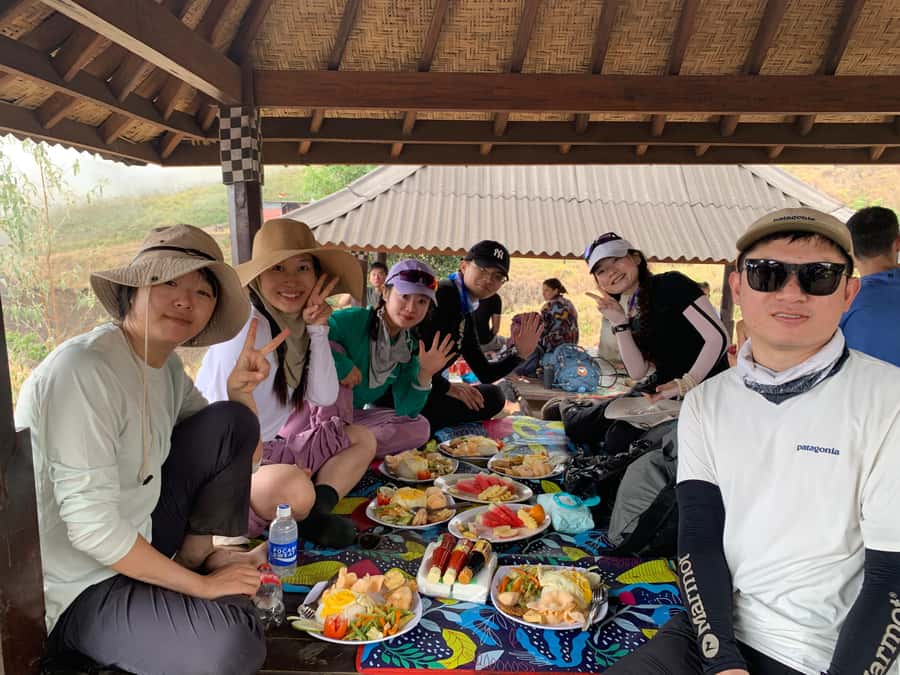
Day 2 starts early. You wake around 02:30 am if you want to catch the sunrise moment properly. Then you take a light breakfast, and the summit push starts around 03:00 am.
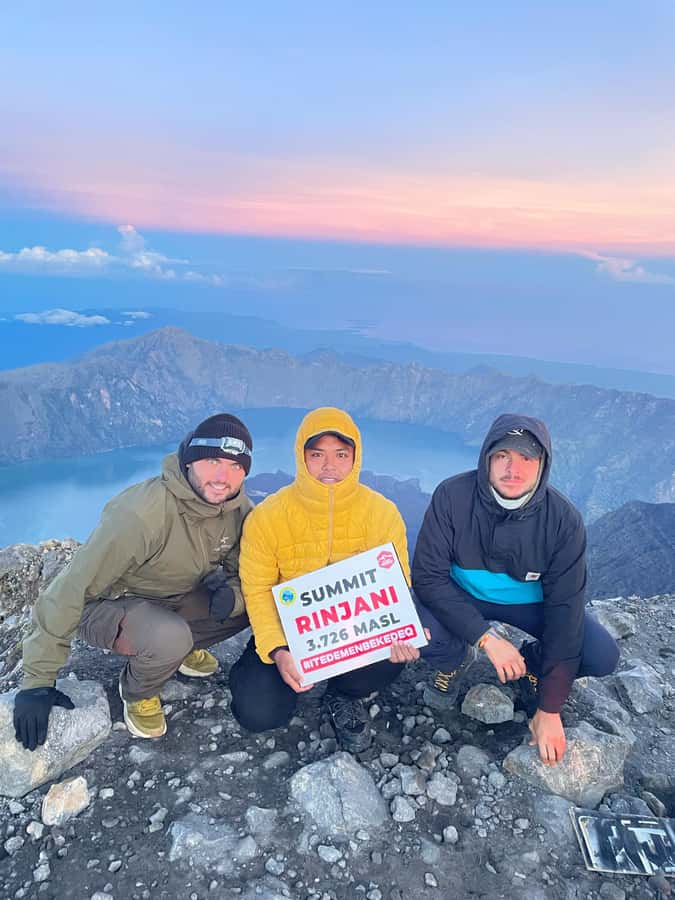
From there, the hike to the Rinjani summit at 3,672 m takes about 3 hours 30 minutes. The climb is split into three parts in the plan: first a moderate climb for about 2 hours, then a fairly easy but long trek, then the last hour which is steep and difficult with loose stones.
That last hour deserves respect. One described challenge is that with loose ground, you may step forward and slide back. It is the kind of terrain where you keep your focus on footing, not speed.
What you see on top
Once you reach the summit, the views are the pay-off described in the itinerary: you can see Lombok island, Bali, Mt. Tambora in Sumbawa, and Segara Anak lake. The timing is built so you can experience sunrise from the top area, which makes early departure feel worth it.
Coming back down, breakfast at the rim, and finishing at noon
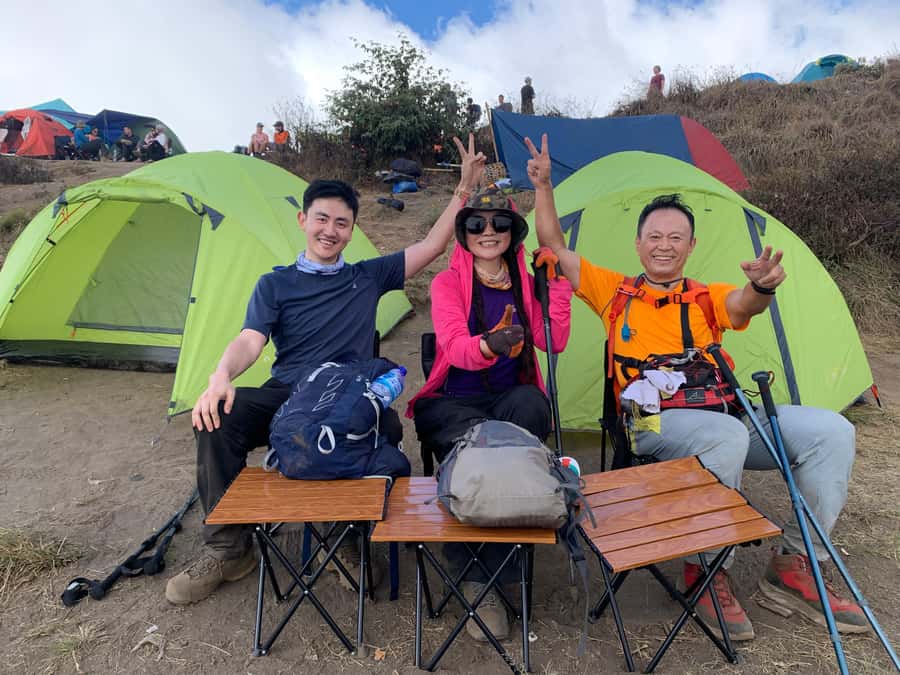
After sunrise, you go back down to the Sembalun Crater Rim and have breakfast. This gives you a short emotional reset: you already did the hardest part, now it’s about controlled descent and steady steps.
Then you start the long return to Sembalun village at 1,150 m, which takes about 4 to 5 hours. Lunch can happen at Post 3 or Post 2 depending on timing, and the plan calls for reaching Sembalun village around noon.
Finally, your car is waiting to return you to Senaru, and the trek ends.
A big practical note: descents can hurt your knees and ankles more than the uphill effort feels. Trekking poles help, and the small-group format can help you pace yourself without getting stuck behind a much faster or much slower rhythm.
The guide and porter difference you should care about
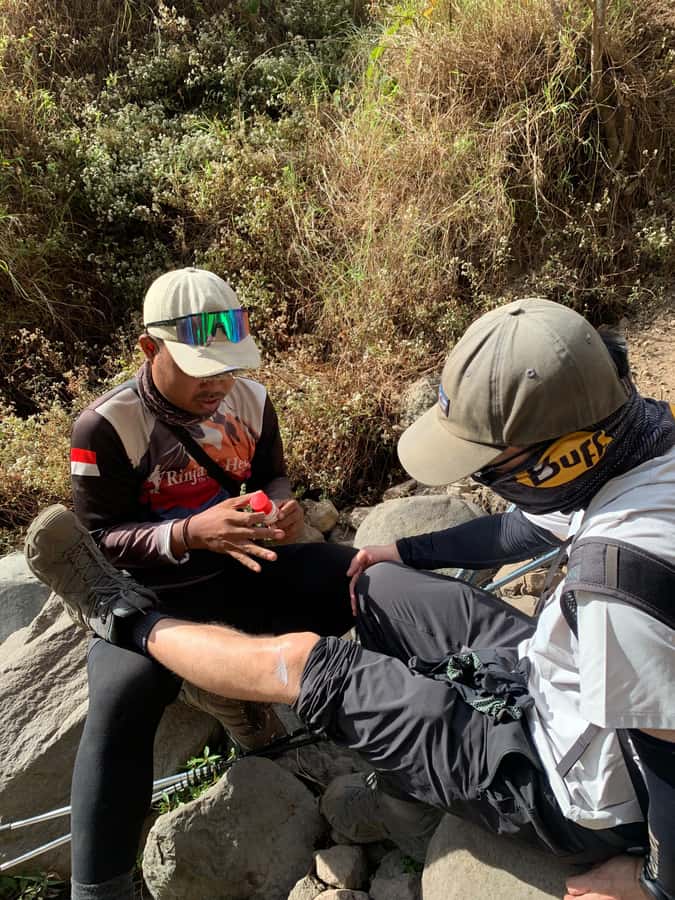
This trek runs best with strong guidance and porters who know the rhythm of the mountain. People on this program have specifically praised guides such as In and Joko for being experienced and patient, and for adjusting pace to individuals, including attention given to a 16-year-old.
What you should take from that: in a summit trek, the “how” matters as much as the “where.” A good guide keeps you safe and focused, and good porters protect your camp experience by carrying equipment so you are not weighed down.
Also, having extra attention for comfort and safety feels important on a route with a dark summit start and steep loose final steps.
Value and price, is about $183 actually fair?
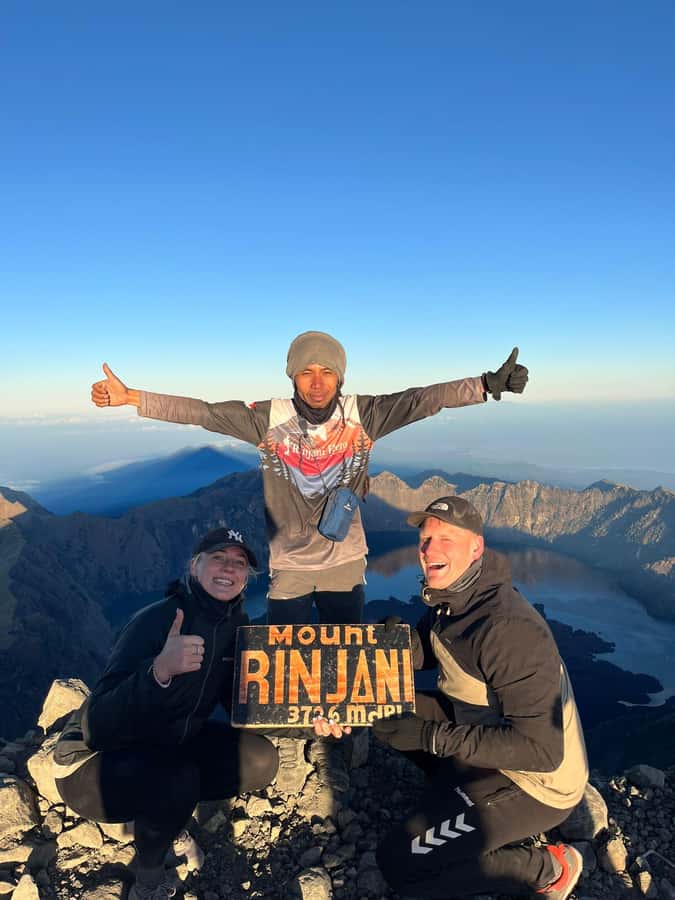
At $183 per person for a 2-day summit trek, the value depends on what is included and how hard the logistics are for you to manage. Here, you do not just buy a guide and a route.
You also get meals and drinks (breakfast, lunch, dinner), safe drinking water, insurance, camping equipment, head lamps, trekking poles, and a rain coat. Porters carry camping equipment, which reduces your load and keeps the experience realistic for a wide range of hikers with the right fitness.
The only piece that sits outside the main package is the Rinjani National Park entrance fee, so check that cost separately. But even with that added, this structure tends to be good value because the expensive part is not only the guide, it is the coordinated camp logistics and equipment.
If you have to rent everything, arrange extra porters, and buy a bundle of cold gear yourself, your real total goes up fast. This tour tries to keep that risk down.
What to bring, based on the cold and steep reality
The basics are clear. Bring hiking shoes, gloves, long pants, cash, and a charged smartphone. A collared shirt is listed too.
Beyond that, the program asks you to pack items in a small backpack of no more than 5 kg. The list includes trekking shoes plus personal toiletries and meds, sunscreen, insect repellent, camera, a small towel, cotton t-shirts, long trek pants, a windproof jacket, shorts, sandals, and swimwear.
Also: do not underestimate cold. Multiple people have emphasized needing very warm gloves and wind-blocking layers for the final climb. If your gear is only “cool weather” quality, upgrade.
You also have an option to add an extra porter to carry your personal belongings, if you want less weight without breaking the plan.
And remember: your rest of luggage can be stored at the local operator’s office, so you do not need to bring everything onto the trail.
Who this trek suits best, and who should skip it
This is not for timid planning. The rules and “know before you go” notes are strict: you need a good fitness level and the ability to walk long distances. People who suffer from mountain sickness or have height phobias are not allowed.
The list of not suitable travelers is also specific: children under 4, pregnant women, people with heart problems, people afraid of heights, people with diabetes, people with altitude sickness, people without experience, people with low fitness, and people over 70.
So who should book? If you are an adult hiker who trains a bit, has cold-weather gear, and wants a structured two-day summit challenge with strong support, this fits well. If you are still building basic hiking stamina, consider a gentler option first.
Transportation and the one real comfort question
The tour includes transfers to and from Senaru and a driver waiting after you return to Sembalun village. Pickup from elsewhere in Lombok can be arranged so you do not have to figure it out on arrival.
One thing to watch is how the transfer feels when you are in a vehicle on rough roads. There has been a complaint about a driver driving too fast and stopping to ask for safer speed. You cannot control every driving moment, but it’s reasonable to ask for safer handling if you feel uneasy.
Should you book Mount Rinjani from Senaru, two days to the summit?
I would book this if you want a compact summit trek where camp comfort is handled, you like sunrise goals, and you are serious about cold-weather readiness. The included gear and porter setup help you focus on the climb instead of logistics, and the route is clearly paced with multiple breaks that reduce chaos.
I would hesitate if you know you struggle with altitude, you have a fear of heights, or you do not have warm gloves and proper wind protection for the last steep hour. The summit start at 03:00 makes that gear not optional.
If you can handle a steep, loose-stone finish and you register early so your permit day is confirmed, this is a strong value way to experience Mount Rinjani’s crater rim camping and summit sunrise.
FAQ
Do I need to register for the Rinjani permits early?
Yes. Permits are limited to 240 per day, and if the quota for your day runs out you may need to reschedule. You can register early via the ERinjani app or ask a local guide to help.
How do I register in the ERinjani app?
You register through the ERinjani APP by entering your membership details such as passport number, full name, birthday, weight and height, and nationality. After that, you pay directly through Indonesian banking to the government account at RP 250K per person per day.
Where does the trek start and when do you arrive at Sembalun?
The trip starts from Senaru with a transfer to Sembalun village. The drive takes about 45 minutes to 1 hour, and you arrive around 8:00 am.
What are the key time points on Day 2 for the summit?
You wake up around 02:30 am, have a light breakfast, and begin the summit trek around 03:00 am. The summit portion is planned for about 3 hours 30 minutes, including a difficult last hour.
What is provided for camping and nighttime comfort?
You get camping equipment including double-size tents, camp chairs, a toilet tent, sleeping bags, pillows, and a mattress. Head lamps are also provided for night movement.
Is the national park entrance fee included in the price?
No. The tour package notes that the Rinjani National Park entrance fee is not included.
What should I pack in my small backpack?
The plan asks for packing items in a small backpack no more than 5 kilograms. It includes hiking shoes, toiletries and personal medication, sunscreen, insect repellent, camera, small towel, cotton t-shirts, long trek pants, windproof jacket, shorts, sandals, and swimwear.
What fitness level do I need?
You should have good fitness and be able to walk long distances. People with altitude sickness or mountain sickness are not allowed, and low fitness or lack of experience also makes you unsuitable.
How big is the group?
The trek is a small group limited to 10 participants, with a live tour guide available in English and Indonesian.
More Hiking & Trekking in Lombok
- 2 Days Hike to Summit with full view of Sunrise and Sunset
★ 5.0 · 49 reviews - Mount Rinjani: 2D-1N Trekking Summit Sunrise Point Join Tour
★ 4.8 · 9 reviews - 3d/2n trekking mount rinjani summit lake & hot springs
★ 4.0 · 6 reviews - Bali: Sunrise Mount Batur Guided Hike with Breakfast
★ 4.8 · 9,660 reviews
Just added around Lombok
- Mount Rinjani Summit Tour With Guide.★ 4.0 · 8 reviews
- Private Tour: Explore Lombok Culture Village & South Beaches★ 5.0 · 7 reviews
- Pink Beach and Southeast Gili Islands Full Day Private Tour★ 4.5 · 42 reviews
- North Lombok : Hidden Gems Waterfalls and Outentic Villages★ 3.8 · 4 reviews
- mount rinjani One day trek★ 4.6 · 39 reviews
- Mount Rinjani: 2D/1N Trekking To Sembalun Or Senaru Views★ 4.8 · 24 reviews
- Mount Rinjani 2-Day Trek to Senaru Crater Rim★ 4.8 · 89 reviews
- Mount Rinjani: 2D-1N Trekking Summit Sunrise Point Join Tour★ 4.8 · 9 reviews
Rinjani Trekking, compared.
Mount Rinjani 2 Days 1 Night Senaru Crater Rim
Read our review →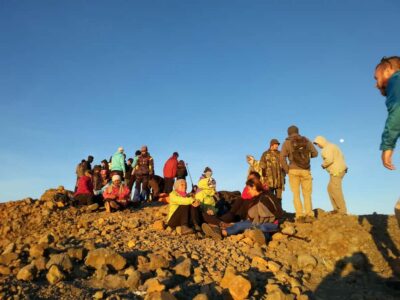
Mount Rinjani Trek 3D-2N To Summit – Lake – Hotspring
Read our review →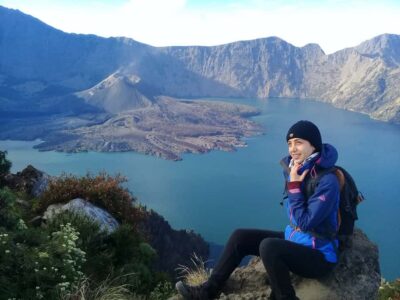
Mt Rinjani Trekking 2 Days 1 Night (Senaru Crater Rim)
Read our review →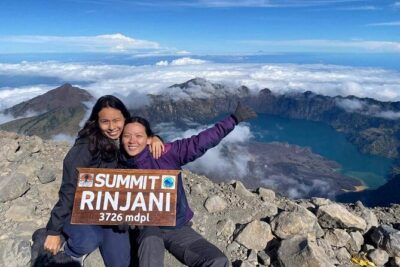
Rinjani Trekking Three Days Two Night Summit Lake
Read our review →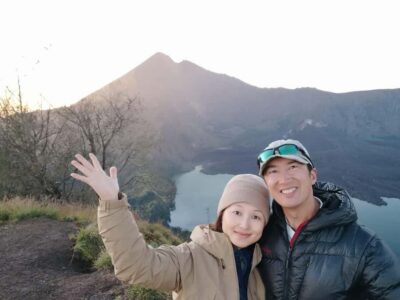
Mount Rinjani Trekking 2D/1N Summit Sunrise & Sunset Views
Read our review →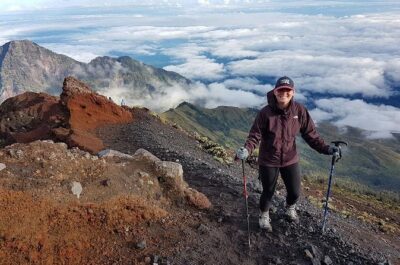
Mount Rinjani Hiking to summit( 2 Days 1 Night )
Read our review →Browse the lists this tour appears in