
REVIEW · BATIK & CRAFT WORKSHOPS
Yogyakarta: Batik Painting Workshop
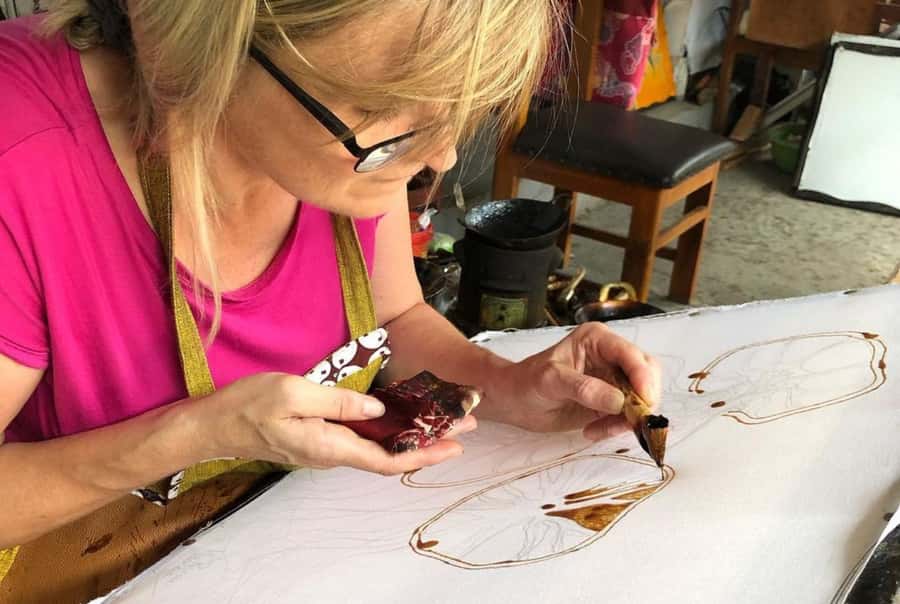
Batik is part art, part chemistry. In this Yogyakarta workshop, you sketch a design, trace it with heated wax using a canting, then paint your colors inside those wax lines with an English-speaking instructor. It is a hands-on way to understand why batik looks so crisp and intentional, and why the results make a memorable souvenir.
I love that your finished piece goes home with you, made by your own hands, not a pre-made product. I also like the calm pace and the patient support, so even if your wax lines wobble, you can fix and keep going. One drawback to plan for: the session is listed as 5 hours, but the actual batik process typically takes 3-5 hours and can run longer for more detailed designs.
In This Review
- Key things to know before you try batik in Yogya
- Entering the batik studio: what 5 hours feels like
- Meeting point rules that keep your day smooth
- Step-by-step batik making, from sketch to wax resist
- The canting and wax stage: where beginners get real support
- Coloring inside the lines: choosing dyes and painting your design
- Drying, then removing wax with hot-water magic
- What you take home: your batik souvenir is the point
- Price and value: why $26 makes sense for a hands-on craft
- Small group size and English instruction: practical comfort
- What to wear and how to avoid dye drama
- Who should book this batik workshop, and who might hesitate
- Should you book this Yogyakarta batik painting workshop?
- FAQ
- How long is the batik painting workshop?
- What is included in the price?
- Is hotel pickup and drop-off included?
- Where do I meet for the workshop?
- What is the maximum time to arrive?
- Is the instructor available in English?
- How big is the group?
- Can I cancel and get a full refund?
- Do I keep what I make?
Key things to know before you try batik in Yogya
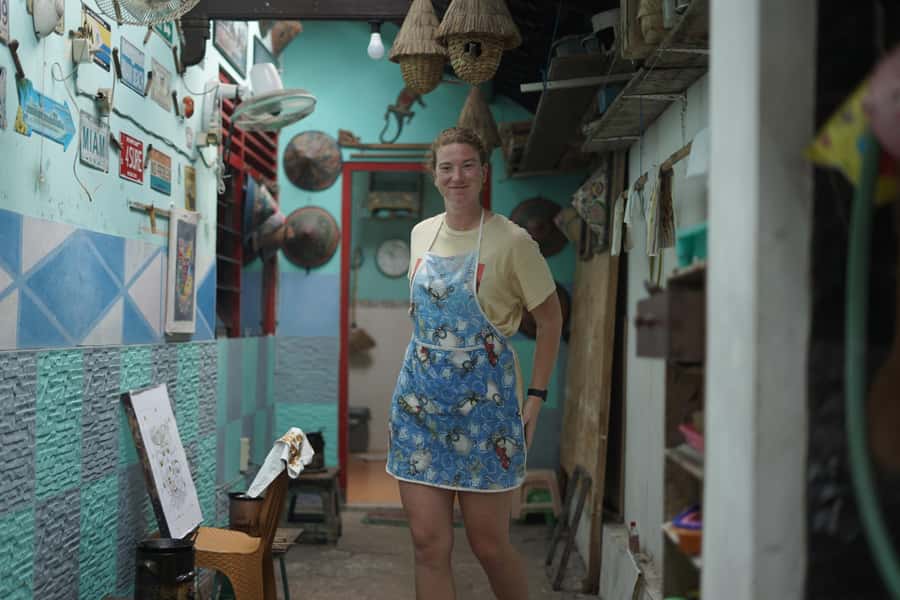
- You start with a pencil sketch, so your design can be simple or ambitious, depending on your mood
- Wax-resist is the star: you heat wax, fill the canting, then draw lines that protect color later
- Small-group teaching keeps attention on you, with help available when you need it
- You can choose a ready stencil or design your own, which helps beginners feel confident fast
- Color can surprise you as dyes develop during rinsing and later steps, so don’t panic if it looks different at first
Entering the batik studio: what 5 hours feels like
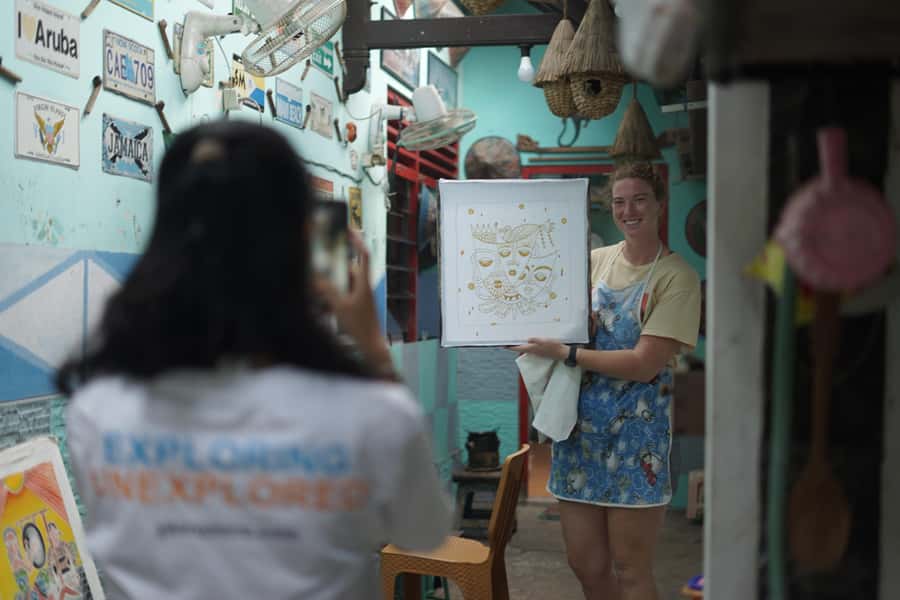
This is a true workshop, not a quick demo. You’ll spend the bulk of your time drawing, applying wax, painting, drying, and then removing the wax so the cloth becomes your finished batik.
Most sessions are built around a 3-5 hour hands-on batik process, with the full activity listed at 5 hours. That gap matters because the real time can shift with design complexity and your pace, so keep your day flexible.
More Craft Workshops in Yogyakarta
- Yogyakarta: 2-hour Batik Making Course with Souvenir
★ 4.9 · 304 reviews - Batik Master Class with Full Process
★ 5.0 · 103 reviews - Yogyakarta: Batik Making Class with Expert
★ 4.7 · 45 reviews
Meeting point rules that keep your day smooth
There is no hotel pickup and drop-off included, so you’ll want to plan your own way to the venue. The workshop location is shared one day before your chosen date, so check your voucher and email before you go.
For timing, aim to be there early. The maximum arrival time is 10 AM, and the studio will work within that schedule.
If you want easier communication that day, add your WhatsApp number while booking. It is one of those small details that can save time if anything changes.
Step-by-step batik making, from sketch to wax resist
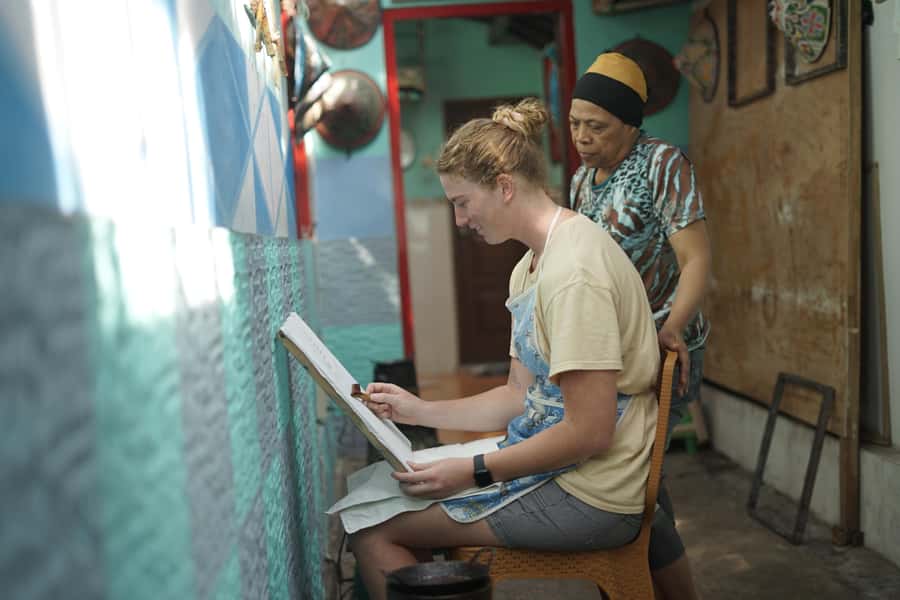
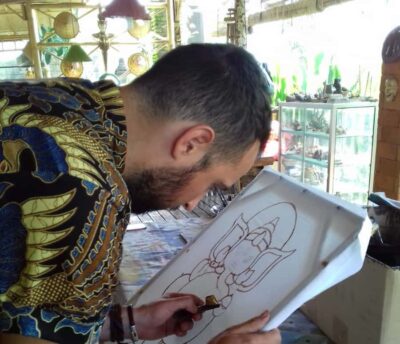
Your first job is to create the design on the cloth. You’ll use a pencil first, and you can be creative with what you draw. Some workshops also offer pre-drawn designs or stencils, which is a big help if you want batik but don’t feel like designing from scratch.
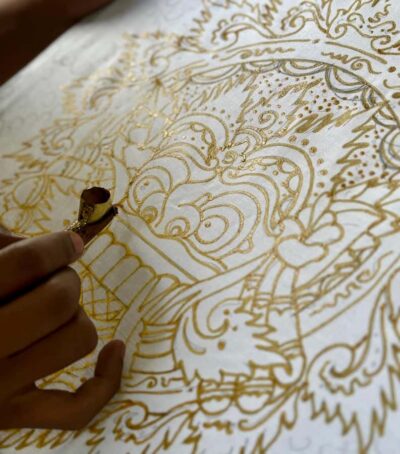
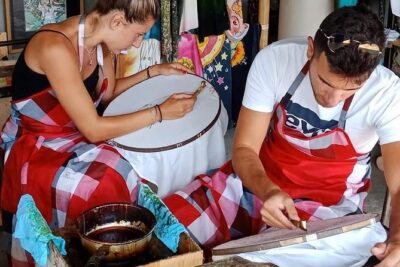
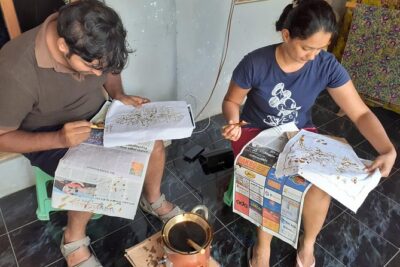
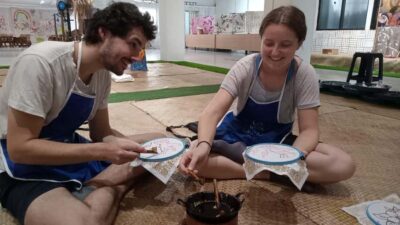
Next comes the wax stage, where batik turns from drawing into craft. You’ll heat the wax on a stove, fill the canting with wax, then trace the lines that match your pencil sketch. The wax forms a protective barrier, so when you dye, the waxed areas resist color.
The canting and wax stage: where beginners get real support
The canting is the tool you’ll use to draw the wax lines. Even if you’ve never held one before, the instructor work flow is straightforward: they explain how the wax should look, how to handle the canting, and how to follow your pattern.
A helpful detail: if something goes wrong, you’re not stuck. In practice, wax lines can be corrected, and the team will help you recover if you make mistakes like spilling wax or drawing something crooked.
This is one reason the experience scores so high. You’re not judged for being new. You’re taught how to proceed.
Another side of Indonesia:
- Yogyakarta: Borobudur sunrise(guarantee climb up)& Prambanan
★ 4.9 · 1,545 reviews - Yogyakarta: Borobudur ClimbUp (sunrise option) & Prambanan
★ 4.9 · 1,260 reviews - Yogyakarta: Borobudur Climb-up and Prambanan Guide Tour
★ 4.9 · 1,031 reviews - Borobudur Sunrise from setumbu Hill , Merapi Volcano & Prambanan Full Day Tour
★ 5.0 · 1,030 reviews
Coloring inside the lines: choosing dyes and painting your design
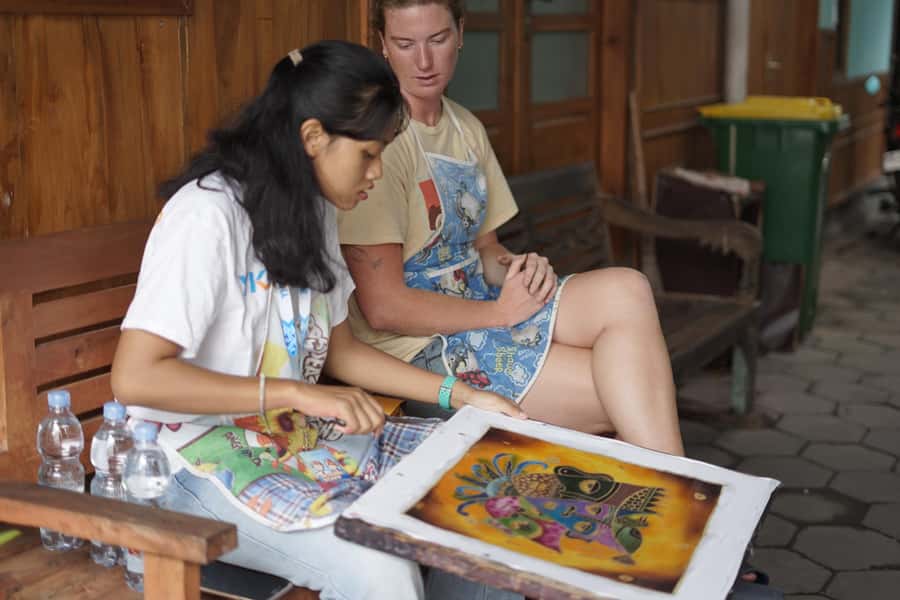
Once the wax drawing is done, you pick your colors and paint over the cloth. You dip a brush in dye and color the fabric so the areas not covered by wax take the dye.
The process is simple in concept: wax protects, dye colors, repeat as needed. The tricky part is patience and accuracy, because you’re working on boundaries you created with your wax.
One practical tip from real experience: colors may not look exactly like you expect at first. Some dyes reveal differently after later exposure and steps like rinsing, so the colors you choose can evolve as the fabric goes through its next stages.
Drying, then removing wax with hot-water magic
After painting, you wait for the cloth to dry. Drying sounds boring, but it is part of the control system in batik, so don’t rush it.
Then comes the wax removal process. The studio heats water until it reaches a boil, then puts the cloth into the hot water while stirring and lifting it. The wax melts and comes off. After that, the cloth gets washed and rubbed by hand to remove any remaining wax, then it is dried again.
This is the moment where you finally see the full effect of your design, because the wax-resist pattern becomes the contrast between dyed areas and protected lines.
What you take home: your batik souvenir is the point
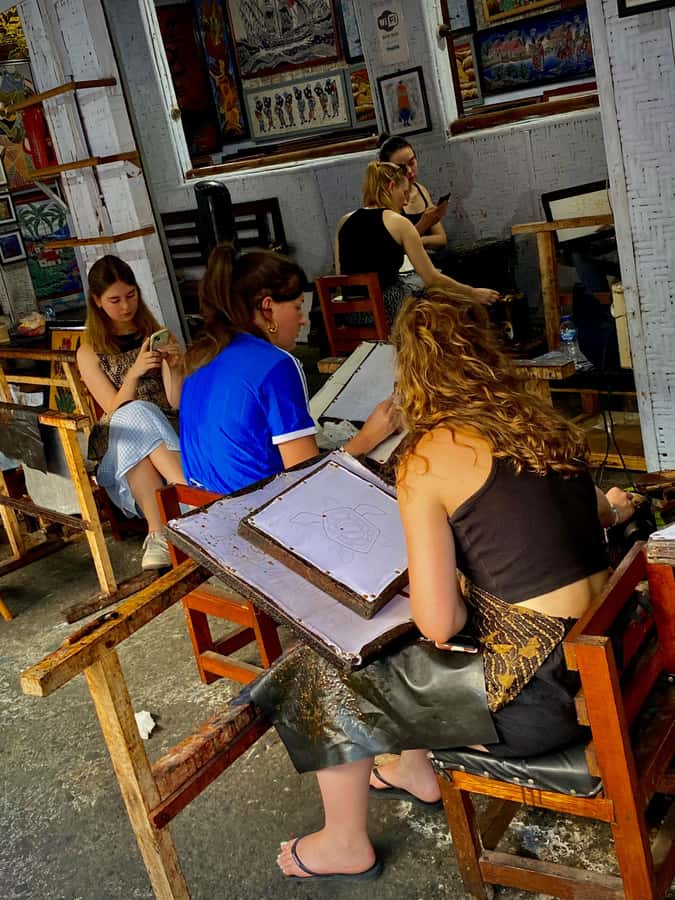
Your cloth is included, and you keep what you make. That means the value is not just the class experience, it is also the tangible souvenir that represents real time and effort.
For many people, that is the best part. A finished batik piece made in a studio in Yogyakarta feels more personal than anything you can buy off a rack.
If you want the souvenir to look great in your photos, plan to take pictures after it is fully finished and dry. Wax removal and the final drying step are what make the pattern snap into view.
Price and value: why $26 makes sense for a hands-on craft
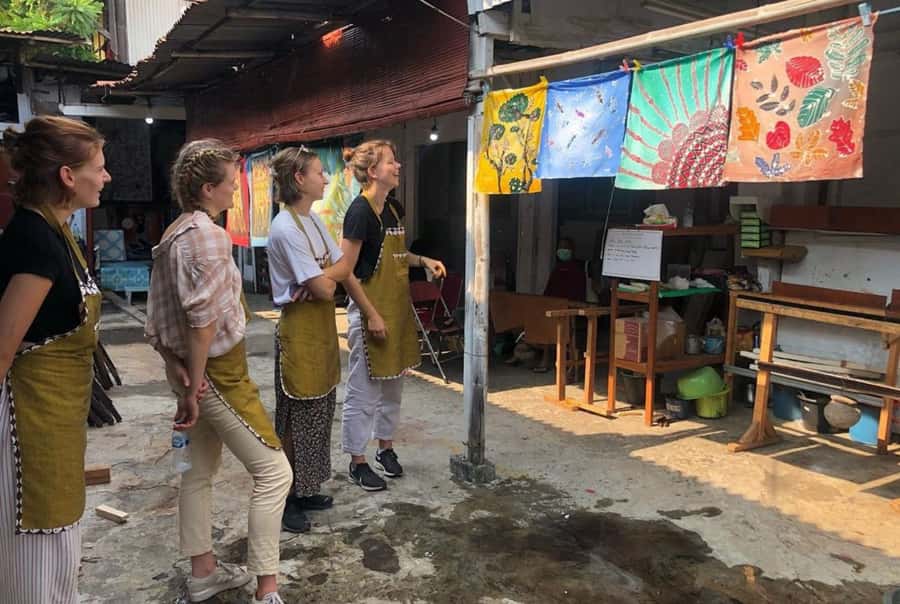
At $26 per person for a roughly 5-hour experience, this is priced like a craft workshop, not a generic tour. You get cotton cloth, all tools and materials, and an instructor who guides you through wax drawing and dye painting.
What is not included is hotel pickup and drop-off. So if you are traveling around Yogyakarta without easy access to the workshop area, your transportation cost becomes your main extra expense.
Still, the value is strong because the price covers the parts you would otherwise struggle to source yourself: the wax tools, the dyed process, and the step-by-step instruction that turns mistakes into corrections instead of ruined fabric.
Small group size and English instruction: practical comfort
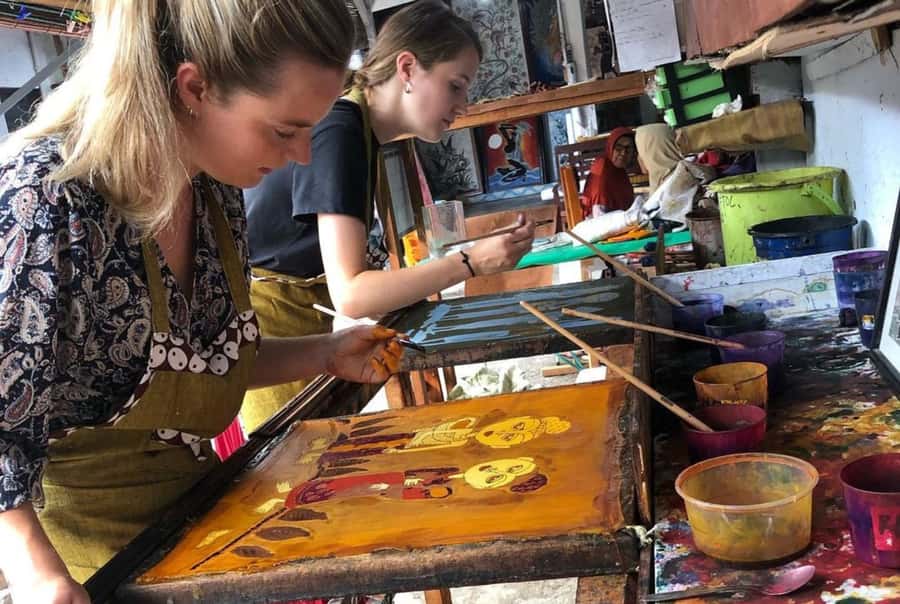
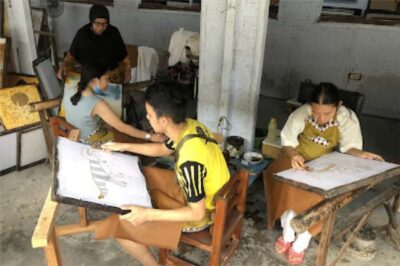
The group is limited to 10 participants, which is a big deal in a workshop like this. With fewer people, the instructor can check your wax lines, help with coloring, and step in if you are unsure about the next step.
The workshop instructor is listed as English-speaking, so you can ask questions and understand technique cues clearly. If you are traveling with a partner, family member, or friends, this format also makes it easy to work side-by-side without feeling lost.
What to wear and how to avoid dye drama
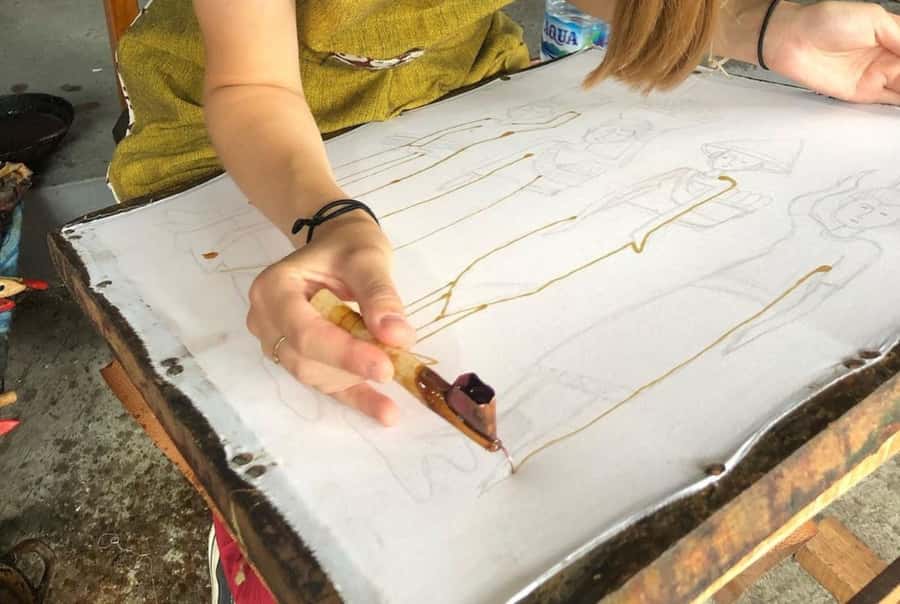
Wear clothes you do not mind getting dye on. Even with an apron provided, spills can happen in any craft that uses wax and dye.
This is also a good activity to do on a day when you do not need to look pristine right after. You’ll want time to finish drying and handle your cloth carefully.
Who should book this batik workshop, and who might hesitate
This is ideal if you want a hands-on creative experience in Yogyakarta, especially if you like crafts, design, or learning how a traditional technique works.
It is also a great fit for families and groups, since the studio environment is calm and the teaching approach is patient. If you are the type who likes relaxing activities rather than rushing from stop to stop, you’ll likely appreciate the studio rhythm.
One consideration: if you are short on time, remember the process can stretch depending on design complexity. The session is listed as 5 hours, but the real work can run a bit longer for more detailed designs.
Should you book this Yogyakarta batik painting workshop?
If you want a real souvenir that you personally made, this is an easy yes. The combination of wax-resist instruction, a small group, and taking your finished batik home makes it good value for the time.
Book it if you have enough slack in your day to work at a comfortable pace and you like learning by doing. Skip it only if your schedule is too tight to absorb a process that can vary between 3-5 hours of making time, sometimes longer for complex work.
FAQ
How long is the batik painting workshop?
The workshop is listed as about 5 hours, and the full batik making process typically takes around 3-5 hours depending on your design complexity.
What is included in the price?
The price includes the workshop time (3-5 hours), cotton cloth, all tools and materials, and an instructor.
Is hotel pickup and drop-off included?
No. Hotel pickup and drop-off are not included.
Where do I meet for the workshop?
The workshop venue is provided one day before your event date. Check your voucher before you go.
What is the maximum time to arrive?
Your maximum arrival time is 10 AM.
Is the instructor available in English?
Yes, the instructor is listed as English speaking.
How big is the group?
This is a small group, limited to 10 participants.
Can I cancel and get a full refund?
Yes, you can cancel up to 24 hours in advance for a full refund.
Do I keep what I make?
Yes, you bring home your batik creation.
Just added around Yogyakarta
- Sunset at Prambanan & Ramayana Ballet (Ticket Guaranteed)★ 4.5 · 10 reviews
- Sunrise Setumbu, Borobudur structure climbing and Prambanan★ 4.7 · 4 reviews
- Sultan Palace, Water Castle & Prambanan Temple Guided Tour★ 4.6 · 4 reviews
- Yogyakarta: Jurang Tembelan, Pine Forest, and Timang Beach★ 4.5 · 20 reviews
- Prambanan Sunset (and Ramayana Ballet Option) Tour★ 3.3 · 8 reviews
- Yogyakarta: Prambanan Temple Morning Tour and Palace Tour★ 5.0 · 4 reviews
- Yogyakarta: Ramayana Show with Transfer, Entry Fee & Dinner★ 4.6 · 20 reviews
- Prambanan Temple Afternoon Tour★ 4.9 · 48 reviews
Batik & Craft Workshops, compared.
Exclusive Tetebatu: Waterfall, Rice Fields, Monkey & Weaving
Read our review →Browse the lists this tour appears in